vue购物车数量增加减少
时间: 2023-06-29 19:12:55 浏览: 53
要实现购物车数量的增加和减少,可以通过以下步骤实现:
1. 在 Vue 的 data 中添加一个数量的变量,比如叫做 `count`,并给它一个初始值为 1。
2. 在模板中显示这个数量变量,比如可以这样写:`<div>数量:{{ count }}</div>`
3. 添加两个按钮,一个用来增加数量,一个用来减少数量,比如可以这样写:
```
<button @click="count++">增加数量</button>
<button @click="count--">减少数量</button>
```
4. 如果希望数量不能小于 1,可以在减少数量的点击事件中添加一个判断,比如这样:
```
<button @click="if (count > 1) count--">减少数量</button>
```
这样就可以实现简单的购物车数量增加和减少功能了。如果需要更复杂的功能,比如限制库存数量、展示总价等,可以根据具体需求进行扩展。
相关问题
vue购物车添加商品数量
如下是一个简单的示例,演示如何实现Vue购物车添加商品数量:
HTML代码:
```
<div id="app">
<h1>购物车</h1>
<ul>
<li v-for="product in products">
{{ product.name }} - ¥{{ product.price }}
<button @click="addToCart(product)">添加到购物车</button>
<span v-if="cart.includes(product.id)">
数量:<button @click="decreaseQuantity(product)">-</button>{{ cartQuantity[product.id] }}
<button @click="increaseQuantity(product)">+</button>
</span>
</li>
</ul>
</div>
```
Vue代码:
```
new Vue({
el: '#app',
data: {
products: [
{ id: 1, name: '商品1', price: 100 },
{ id: 2, name: '商品2', price: 200 },
{ id: 3, name: '商品3', price: 300 }
],
cart: [], // 购物车中商品ID的列表
cartQuantity: {} // 购物车中每个商品的数量
},
methods: {
addToCart(product) {
if (!this.cart.includes(product.id)) {
this.cart.push(product.id);
this.cartQuantity[product.id] = 1;
} else {
this.cartQuantity[product.id]++;
}
},
increaseQuantity(product) {
this.cartQuantity[product.id]++;
},
decreaseQuantity(product) {
if (this.cartQuantity[product.id] > 1) {
this.cartQuantity[product.id]--;
} else {
this.cart.splice(this.cart.indexOf(product.id), 1);
delete this.cartQuantity[product.id];
}
}
}
})
```
在这个示例中,我们创建了一个Vue实例,其中包含了一个`products`数组,以及两个空数组`cart`和`cartQuantity`。然后我们定义了三个方法:`addToCart`、`increaseQuantity`和`decreaseQuantity`。
当用户点击“添加到购物车”按钮时,`addToCart`方法会将商品ID添加到`cart`列表中,并将该商品的数量设为1。如果用户再次添加同样的商品,则只是数量加1。
在购物车列表中,我们检查该商品的ID是否包含在`cart`数组中,如果包含,则显示该商品的数量,并提供增加和减少数量的按钮。`increaseQuantity`和`decreaseQuantity`方法用于增加或减少商品数量,并且在数量减少到0时会将该商品从购物车中移除。
springboot+vue购物车
基于Spring Boot和Vue的购物车实现可以分为以下几个步骤:
1. 创建商品列表页面,展示所有商品信息,包括商品名称、价格、图片等,并在每个商品后面添加“加入购物车”按钮。
2. 点击“加入购物车”按钮后,将该商品信息添加到购物车中。可以使用VueX来实现购物车的状态管理。
3. 创建购物车页面,展示当前购物车中的所有商品信息,包括商品名称、价格、数量、小计等,并在每个商品后面添加“删除”按钮和“增加/减少数量”按钮。
4. 点击“删除”按钮后,将该商品从购物车中删除。
5. 点击“增加/减少数量”按钮后,可以增加或减少该商品的数量,并更新小计金额。
6. 在购物车页面中添加“结算”按钮,点击后跳转到订单确认页面。
下面是一个简单的示例代码,仅供参考:
1. 商品列表页面
```vue
<template>
<div>
<div v-for="item in productList" :key="item.id">
<img :src="item.image" alt="">
<p>{{ item.name }}</p>
<p>{{ item.price }}</p>
<button @click="addToCart(item)">加入购物车</button>
</div>
</div>
</template>
<script>
export default {
data() {
return {
productList: [
{
id: 1,
name: '商品1',
price: 100,
image: 'https://xxx.com/1.jpg'
},
{
id: 2,
name: '商品2',
price: 200,
image: 'https://xxx.com/2.jpg'
},
// 其他商品信息
]
}
},
methods: {
addToCart(item) {
this.$store.commit('addToCart', item)
}
}
}
</script>
```
2. 购物车页面
```vue
<template>
<div>
<div v-for="item in cartList" :key="item.id">
<img :src="item.image" alt="">
<p>{{ item.name }}</p>
<p>{{ item.price }}</p>
<button @click="decreaseQuantity(item)">-</button>
<span>{{ item.quantity }}</span>
<button @click="increaseQuantity(item)">+</button>
<p>{{ item.subtotal }}</p>
<button @click="removeFromCart(item)">删除</button>
</div>
<p>总计:{{ total }}</p>
<button @click="checkout">结算</button>
</div>
</template>
<script>
export default {
computed: {
cartList() {
return this.$store.state.cartList
},
total() {
let sum = 0
this.cartList.forEach(item => {
sum += item.subtotal
})
return sum
}
},
methods: {
removeFromCart(item) {
this.$store.commit('removeFromCart', item)
},
increaseQuantity(item) {
this.$store.commit('increaseQuantity', item)
},
decreaseQuantity(item) {
this.$store.commit('decreaseQuantity', item)
},
checkout() {
// 跳转到订单确认页面
}
}
}
</script>
```
3. VueX状态管理
```javascript
const store = new Vuex.Store({
state: {
cartList: []
},
mutations: {
addToCart(state, item) {
const index = state.cartList.findIndex(i => i.id === item.id)
if (index === -1) {
state.cartList.push({
...item,
quantity: 1,
subtotal: item.price
})
} else {
state.cartList[index].quantity++
state.cartList[index].subtotal += item.price
}
},
removeFromCart(state, item) {
const index = state.cartList.findIndex(i => i.id === item.id)
state.cartList.splice(index, 1)
},
increaseQuantity(state, item) {
const index = state.cartList.findIndex(i => i.id === item.id)
state.cartList[index].quantity++
state.cartList[index].subtotal += item.price
},
decreaseQuantity(state, item) {
const index = state.cartList.findIndex(i => i.id === item.id)
if (state.cartList[index].quantity > 1) {
state.cartList[index].quantity--
state.cartList[index].subtotal -= item.price
}
}
}
})
```
相关推荐
最新推荐
安全隐患台账(模版).xls
安全隐患台账(模版).xls
基于 Java+Mysql 实现的小型仓库管理系统-课程设计(含课设文档+源码)
【作品名称】:基于 Java+Mysql 实现的小型仓库管理系统-课程设计(含课设文档+源码)
【适用人群】:适用于希望学习不同技术领域的小白或进阶学习者。可作为毕设项目、课程设计、大作业、工程实训或初期项目立项。
【项目介绍】:项目说明
1、项目结构:maven+mvc(M模型用的是mybatis技术)
2、项目模式:C/S(客户机/服务器)模式
3、编辑器:IDEA 2019.3.1
4、mysql版本号:5.1.38
zigbee-cluster-library-specification
最新的zigbee-cluster-library-specification说明文档。
管理建模和仿真的文件
管理Boualem Benatallah引用此版本:布阿利姆·贝纳塔拉。管理建模和仿真。约瑟夫-傅立叶大学-格勒诺布尔第一大学,1996年。法语。NNT:电话:00345357HAL ID:电话:00345357https://theses.hal.science/tel-003453572008年12月9日提交HAL是一个多学科的开放存取档案馆,用于存放和传播科学研究论文,无论它们是否被公开。论文可以来自法国或国外的教学和研究机构,也可以来自公共或私人研究中心。L’archive ouverte pluridisciplinaire
优化MATLAB分段函数绘制:提升效率,绘制更快速

# 1. MATLAB分段函数绘制概述**
分段函数绘制是一种常用的技术,用于可视化不同区间内具有不同数学表达式的函数。在MATLAB中,分段函数可以通过使用if-else语句或switch-case语句来实现。
**绘制过程**
MATLAB分段函数绘制的过程通常包括以下步骤:
1.
SDN如何实现简易防火墙
SDN可以通过控制器来实现简易防火墙。具体步骤如下:
1. 定义防火墙规则:在控制器上定义防火墙规则,例如禁止某些IP地址或端口访问,或者只允许来自特定IP地址或端口的流量通过。
2. 获取流量信息:SDN交换机会将流量信息发送给控制器。控制器可以根据防火墙规则对流量进行过滤。
3. 过滤流量:控制器根据防火墙规则对流量进行过滤,满足规则的流量可以通过,不满足规则的流量则被阻止。
4. 配置交换机:控制器根据防火墙规则配置交换机,只允许通过满足规则的流量,不满足规则的流量则被阻止。
需要注意的是,这种简易防火墙并不能完全保护网络安全,只能起到一定的防护作用,对于更严格的安全要求,需要
JSBSim Reference Manual
JSBSim参考手册,其中包含JSBSim简介,JSBSim配置文件xml的编写语法,编程手册以及一些应用实例等。其中有部分内容还没有写完,估计有生之年很难看到完整版了,但是内容还是很有参考价值的。
"互动学习:行动中的多样性与论文攻读经历"
多样性她- 事实上SCI NCES你的时间表ECOLEDO C Tora SC和NCESPOUR l’Ingén学习互动,互动学习以行动为中心的强化学习学会互动,互动学习,以行动为中心的强化学习计算机科学博士论文于2021年9月28日在Villeneuve d'Asq公开支持马修·瑟林评审团主席法布里斯·勒菲弗尔阿维尼翁大学教授论文指导奥利维尔·皮耶昆谷歌研究教授:智囊团论文联合主任菲利普·普雷教授,大学。里尔/CRISTAL/因里亚报告员奥利维耶·西格德索邦大学报告员卢多维奇·德诺耶教授,Facebook /索邦大学审查员越南圣迈IMT Atlantic高级讲师邀请弗洛里安·斯特鲁布博士,Deepmind对于那些及时看到自己错误的人...3谢谢你首先,我要感谢我的两位博士生导师Olivier和Philippe。奥利维尔,"站在巨人的肩膀上"这句话对你来说完全有意义了。从科学上讲,你知道在这篇论文的(许多)错误中,你是我可以依
揭秘MATLAB分段函数绘制技巧:掌握绘制分段函数图的精髓
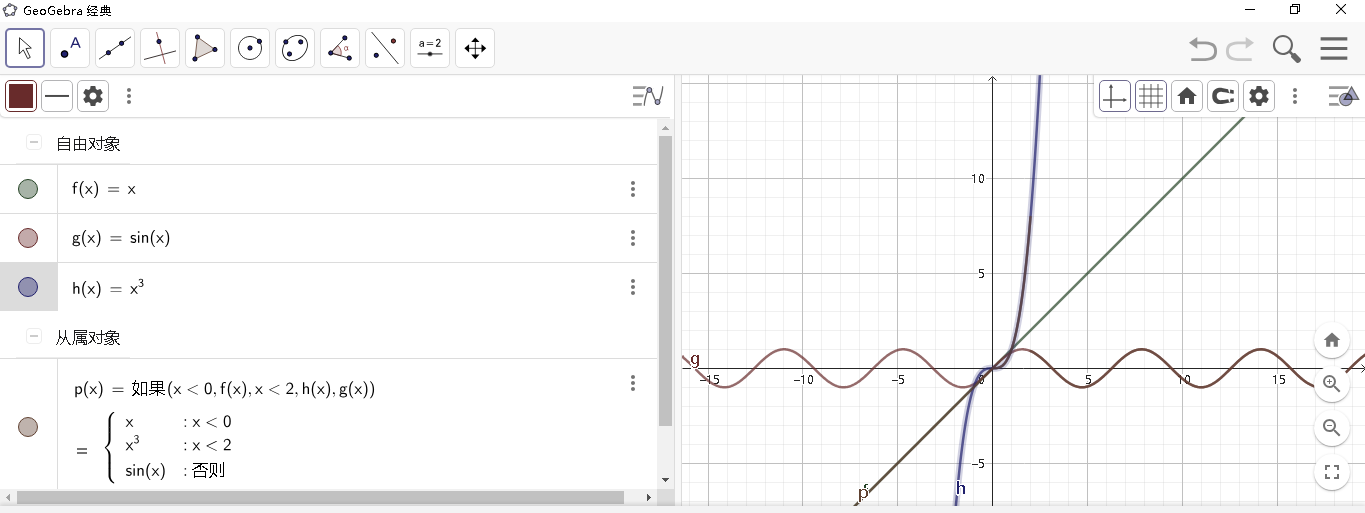
# 1. MATLAB分段函数的概念和基本语法**
分段函数是一种将函数域划分为多个子域,并在每个子域上定义不同函数表达式的函数。在MATLAB中,可以使用`piecewise`函数来定义分段函数。其语法为:
```
y = piecewise(x, x1, y1, ..., xn, yn)
```
其中:
* `x`:自变量。
* `x1`, `y1`, ..., `xn`,
如何用python运行loam算法
LOAM (Lidar Odometry and Mapping) 是一种基于激光雷达的SLAM算法,可以用于室内或室外环境的建图和定位。下面是一个基本的步骤来在Python中运行LOAM算法:
1. 安装ROS (Robot Operating System)和LOAM的ROS包
```
sudo apt-get install ros-<distro>-loam-velodyne
```
2. 安装Python的ROS客户端库rospy:
```
sudo apt-get install python-rospy
```
3. 创建ROS工作空间并编译
```
mkdir -p ~/ca