"Keil教程:新建STM32工程详解,六步操作轻松搞定"
Keil is a software development tool commonly used for embedded systems programming. When creating a new STM32 project in Keil, there are six steps to follow.
Step 1: Create a New Folder
Begin by creating a new folder where your project files will be stored.
Step 2: Copy Necessary Files
Copy all the essential files required for your STM32 project into the newly created folder.
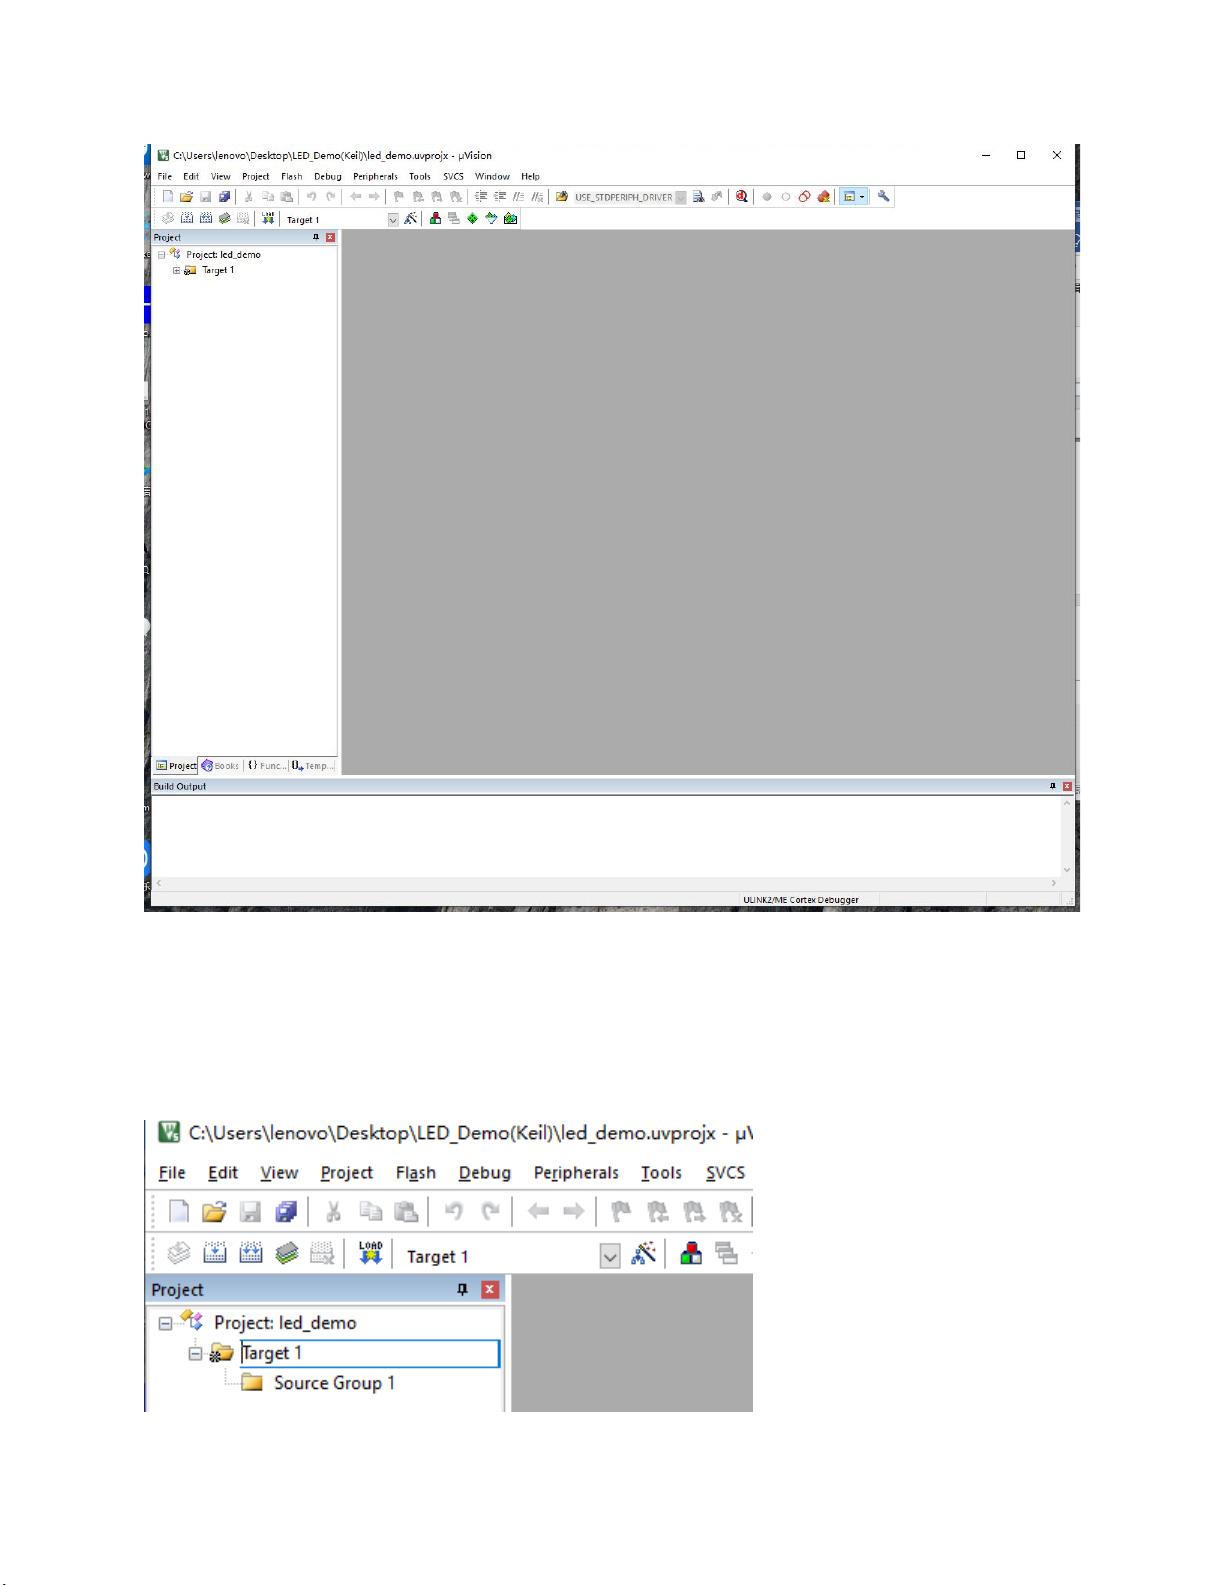
Step 3: Create a New Project
Open the Keil software and navigate to Project -> New uVision project. Set the path and name for the project, then save it. Select the STM32 chip model you are using and click "OK."
Step 4: Add Groups and Files
Click on the target to set the project name and group name. Right-click on the project name to create a new group. Once the group is created, you can start adding files to it. Begin by adding files from the CMSIS group, such as system_st.
Step 5: Configure Project Settings
Configure the project settings, including the compiler options, device configuration, and debugging settings. Make sure to set up the correct toolchain for your STM32 project.
Step 6: Write and Build Code
Start writing your code in the Keil IDE and build the project to check for any errors. Debug the code as needed to ensure it runs smoothly on the STM32 microcontroller.
By following these six steps, you can successfully create a new STM32 project in Keil and begin developing embedded systems applications for your devices.
/*****************************************************************************/
第四步 添加分组及文件
/*****************************************************************************/
点击 target 就可以设置项目名及组名
剩余16页未读,继续阅读
相关推荐


长风破浪5
- 粉丝: 18
 我的内容管理
展开
我的内容管理
展开


最新资源
- 简易脚本集成英特尔MKL到Debian/Ubuntu系统
- 2018美团点评技术创新分享(中篇)
- Spring框架问卷调查系统源代码免费下载
- 易语言实现网易163邮箱登录器教程
- 深入解析新浪微博安卓客户端源码架构
- Cocos2d-x粒子编辑器源码深入解析
- RU.exe与RU.EFI:跨平台的Bios修改工具
- Qt实现OBD II数字仪表集群开发指南
- 基于Hugo框架的TECv2加密纲要开发
- 淘宝商品排名优化技巧与查询工具
- Linux桌面弹出菜单快速输入Emoji与Kaomoji技巧
- SAPJCO3 Jar包环境配置及部署指南
- C语言编写的《智能算法》源代码解析
- MFC列表控件CListCtrl的自绘实现及表头绘制
- coc-phpls: 为PHP打造的高效语言服务器扩展
- Linux promptless:极致快速的极简Shell提示符实现
