

■ IntroduCtIon
xx
The models span a variety of topics, and we tried to cover as many disciplines as
possible. Briefly, here is what you can look forward to:
Chapter 1 gives you a few options to print many different
types of mathematical surface. This ability underlies some of
the other models.
Chapter 2 creates models of waves to allow you to explore
what happens when various waves overlap and interact. You
can print yourself a model of Young’s famous double-slit
experiment to see how light from two slits can interfere.
Chapter 3 takes us back to Newton and Kepler to learn about
planets and stars and how they speed up and slow down in
their orbits.
Chapter 4 allows you to create wings with classic airfoil shapes
from the early days of flight. You will be able to make yourself
a very simplistic test stand that you can use to measure the lift
from the wing with just a fan and a postal scale.
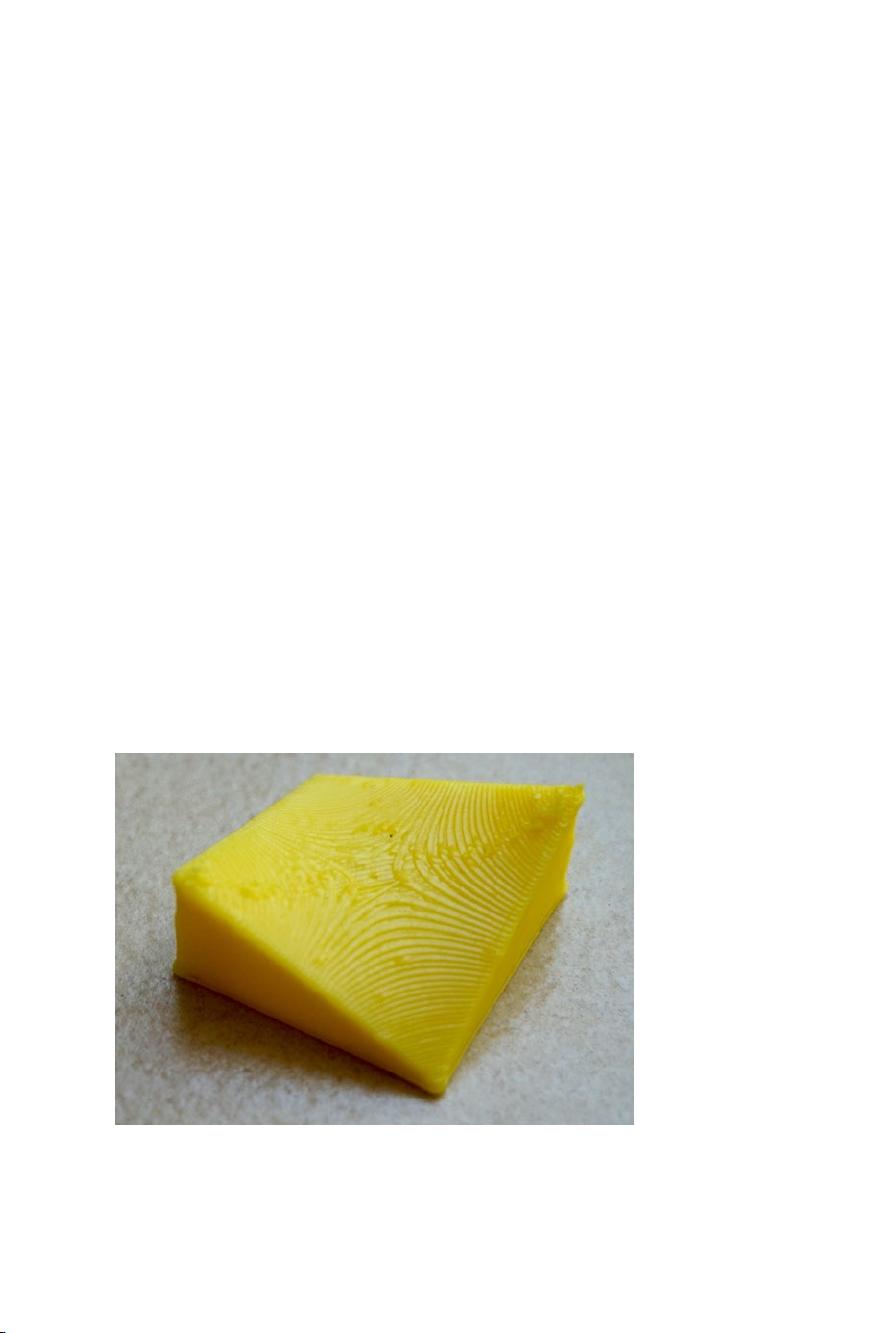
Chapter 5 lets you create basic models of all the “simple
machines”—wedge, inclined plane, lever, pulleys, and screws.
Chapter 6 allows you to model plants and their ecosystems,
and to design plants for different environments. Maybe you
can create a garden for another planet (or for Earth after
another few hundred years of climate change).
Chapter 7 lets you begin to explore carbon atoms, and how
water molecules come together to make two different types of
ice crystals.
Chapter 8 explores 2D and 3D trusses and how you can use
them in various explorations.
As we noted earlier, Appendix A reviews how to 3D print, and
Appendix B aggregates all the links in the book.
Finally, we are making the 3D-printable models used in this book
(although not the book itself!) open source, licensed under a Creative
Commons Attribution-NonCommerical-ShareAlike 4.0 International License
(https://creativecommons.org/licenses/by-nc-sa/4.0/). That means you can use
them for noncommercial purposes (in a classroom, for instance) and alter and remix
them as long as you credit us. Appendix A has some notes about where to find the
repositories if you would like to add to these models. We hope these models are the
beginning of a set of models that students everywhere can play with and learn from.


剩余212页未读,继续阅读

vanridin
- 粉丝: 108
- 资源: 1188
 我的内容管理
展开
我的内容管理
展开


最新资源
- 最优条件下三次B样条小波边缘检测算子研究
- 深入解析:wav文件格式结构
- JIRA系统配置指南:代理与SSL设置
- 入门必备:电阻电容识别全解析
- U盘制作启动盘:详细教程解决无光驱装系统难题
- Eclipse快捷键大全:提升开发效率的必备秘籍
- C++ Primer Plus中文版:深入学习C++编程必备
- Eclipse常用快捷键汇总与操作指南
- JavaScript作用域解析与面向对象基础
- 软通动力Java笔试题解析
- 自定义标签配置与使用指南
- Android Intent深度解析:组件通信与广播机制
- 增强MyEclipse代码提示功能设置教程
- x86下VMware环境中Openwrt编译与LuCI集成指南
- S3C2440A嵌入式终端电源管理系统设计探讨
- Intel DTCP-IP技术在数字家庭中的内容保护
资源上传下载、课程学习等过程中有任何疑问或建议,欢迎提出宝贵意见哦~我们会及时处理!
点击此处反馈


