"高反光元件三维面形测量技术优化与应用研究"
版权申诉
45 浏览量
更新于2024-02-20
收藏 1.96MB DOCX 举报
Abstract:
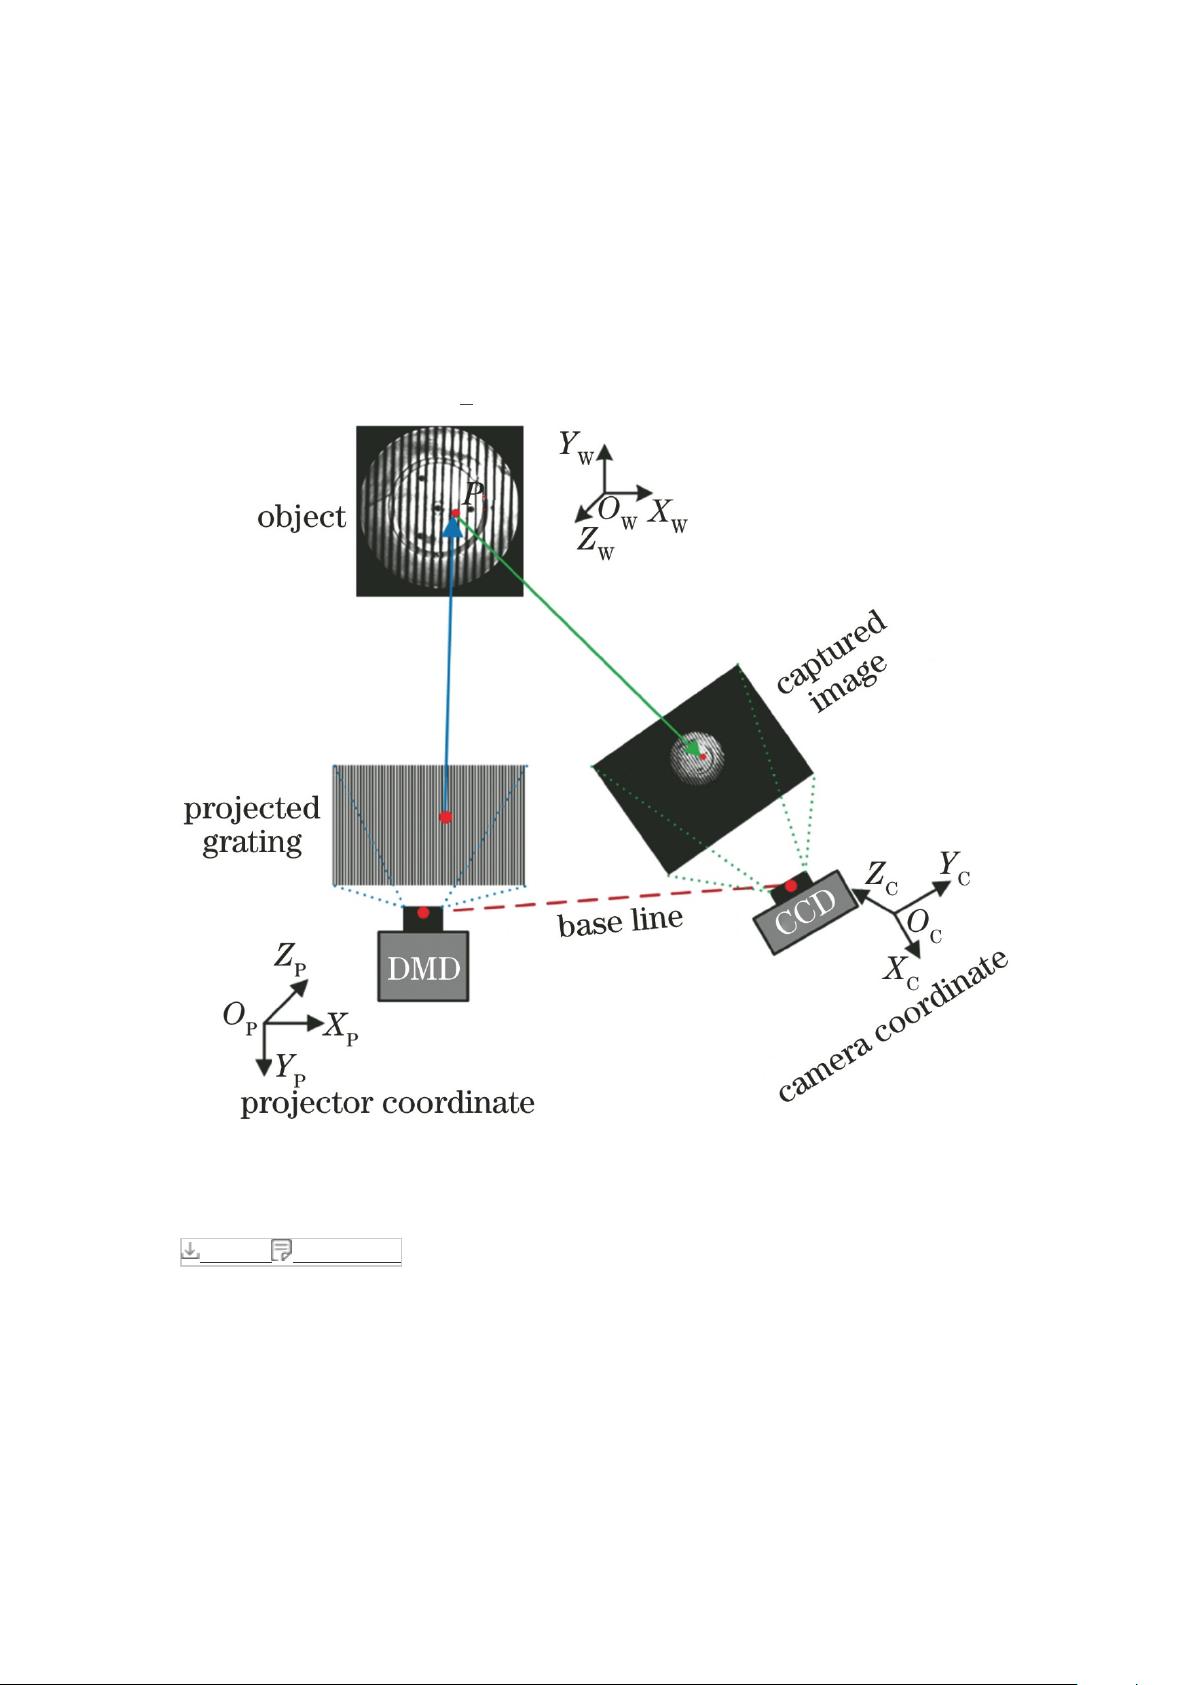
In advanced manufacturing, on-line quality inspection of processed components is required. The fringe projection three-dimensional measurement technology is adopted because it meets the requirements of online and non-contact. However, the significant differences in the reflection rate of metal material surfaces can lead to overexposure and underexposure of captured structured light images, resulting in missing or incorrect final measurement data. In response to this issue, incomplete point cloud data directly obtained from measurements and component design data obtained from Computer-Aided Design (CAD) are used for iterative closest point (ICP) point cloud registration to obtain point cloud data estimating the surface shape of the object being measured in the camera coordinate system. This data is used as an estimation of the surface shape, combined with system calibration parameters, to establish a correspondence relationship between the image intensity of same-named points between projection and imaging. The camera's imaging response curve of the light intensity for each point on the element to be measured is used to calculate the projection grayscale range and minimum projection grayscale. Finally, the non-equal coefficient projection grating generated is used for three-dimensional topography measurement of high-reflective elements. Experimental results show that the proposed method can more completely achieve three-dimensional surface shape measurement of high-reflective elements without changing the structural parameters of the measurement system or increasing the complexity of the measurement system.
229 浏览量
2023-02-23 上传
2023-02-23 上传
2022-11-10 上传
罗伯特之技术屋
- 粉丝: 4512
- 资源: 1万+
最新资源
- ARDUINO蓝牙例程.rar
- information-retrieval:unipd IR 课程的内容
- 家装空间3d模型
- 楚多齐尔
- BBSxp论坛 小蜜蜂
- MIPCMS内容管理系统 V2.1.2
- rosjava_core:支持 Android 的纯 Java ROS 实现
- darlinf-portar-proyectos
- react-app46031239595955455
- budget_tracker
- React_Krowdy-Video
- ionic HTML5 移动端开源框架 v3.7.1
- randomwalk:创建任意维度的随机游走-matlab开发
- Star Trek: Continuum:重制《星际迷航:完全重制家庭世界》-开源
- 企业广场:企业广场
- AndroidScanQRCode.rar.rar


