没有合适的资源?快使用搜索试试~ 我知道了~
首页WebGL编程指南:3D图形开发入门
WebGL编程指南:3D图形开发入门
![](https://csdnimg.cn/release/wenkucmsfe/public/img/starY.0159711c.png)
"《Professional WebGL Programming》是一本关于开发3D图形的电子书,适合WebGL初学者。书中深入浅出地介绍了WebGL的基本概念、图形硬件的工作原理、WebGL图形渲染管线,以及与其他图形技术的比较。同时,还涵盖了线性代数在3D图形中的应用。"
在第一章“Introducing WebGL”中,作者首先阐述了WebGL的基础知识,解释了为什么WebGL在3D图形编程领域如此重要。他们讨论了设计图形API的理念,并概述了图形硬件的运作方式,帮助读者理解WebGL是如何与硬件交互的。此外,本章还对比了WebGL与其他图形技术,如OpenGL和Direct3D,以便读者更好地定位WebGL的适用场景。最后,本章简要介绍了线性代数在3D图形中的基础,这是理解3D图形旋转、平移和缩放等操作的关键。
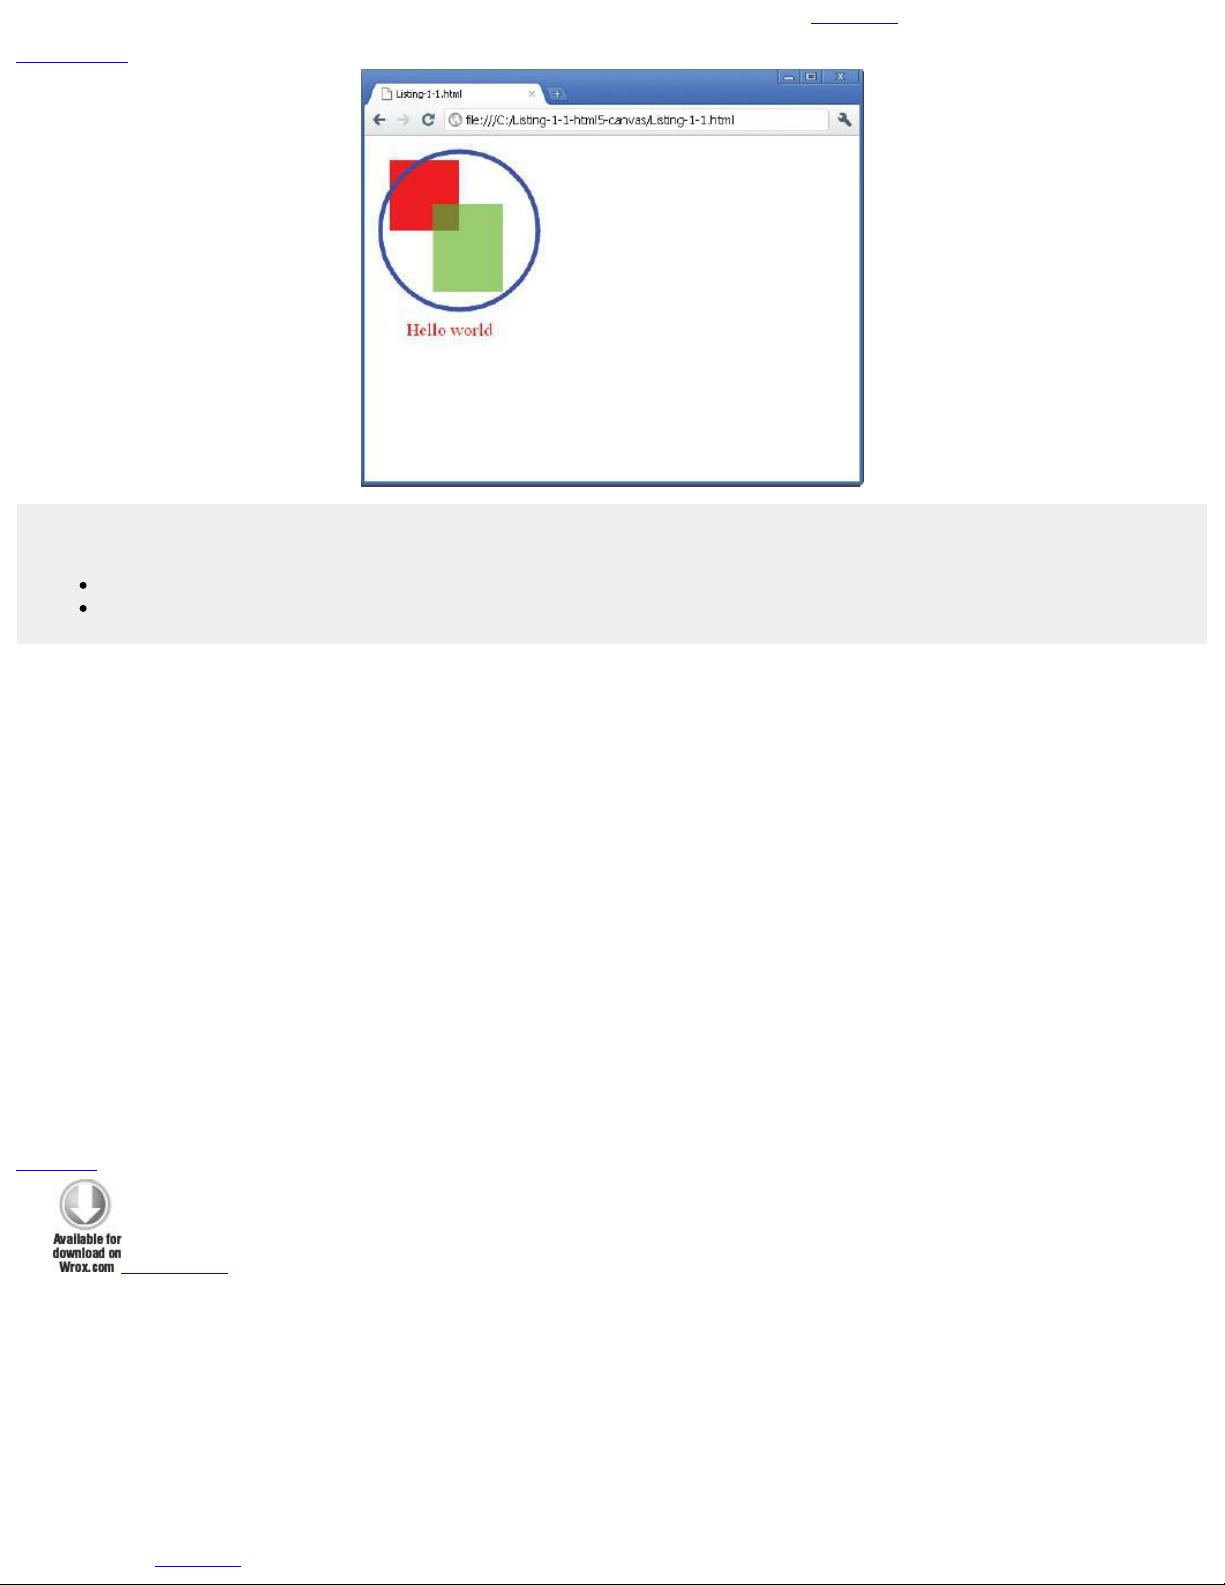
第二章“Creating Basic WebGL Examples”逐步引导读者创建简单的WebGL示例,从绘制一个三角形开始。这一章详细讲解了WebGL的编码风格,如何调试WebGL应用程序,以及如何使用DOM API加载着色器。通过更复杂一点的例子,读者可以学习到如何将这些基础知识结合起来,形成更完整的3D图形程序。
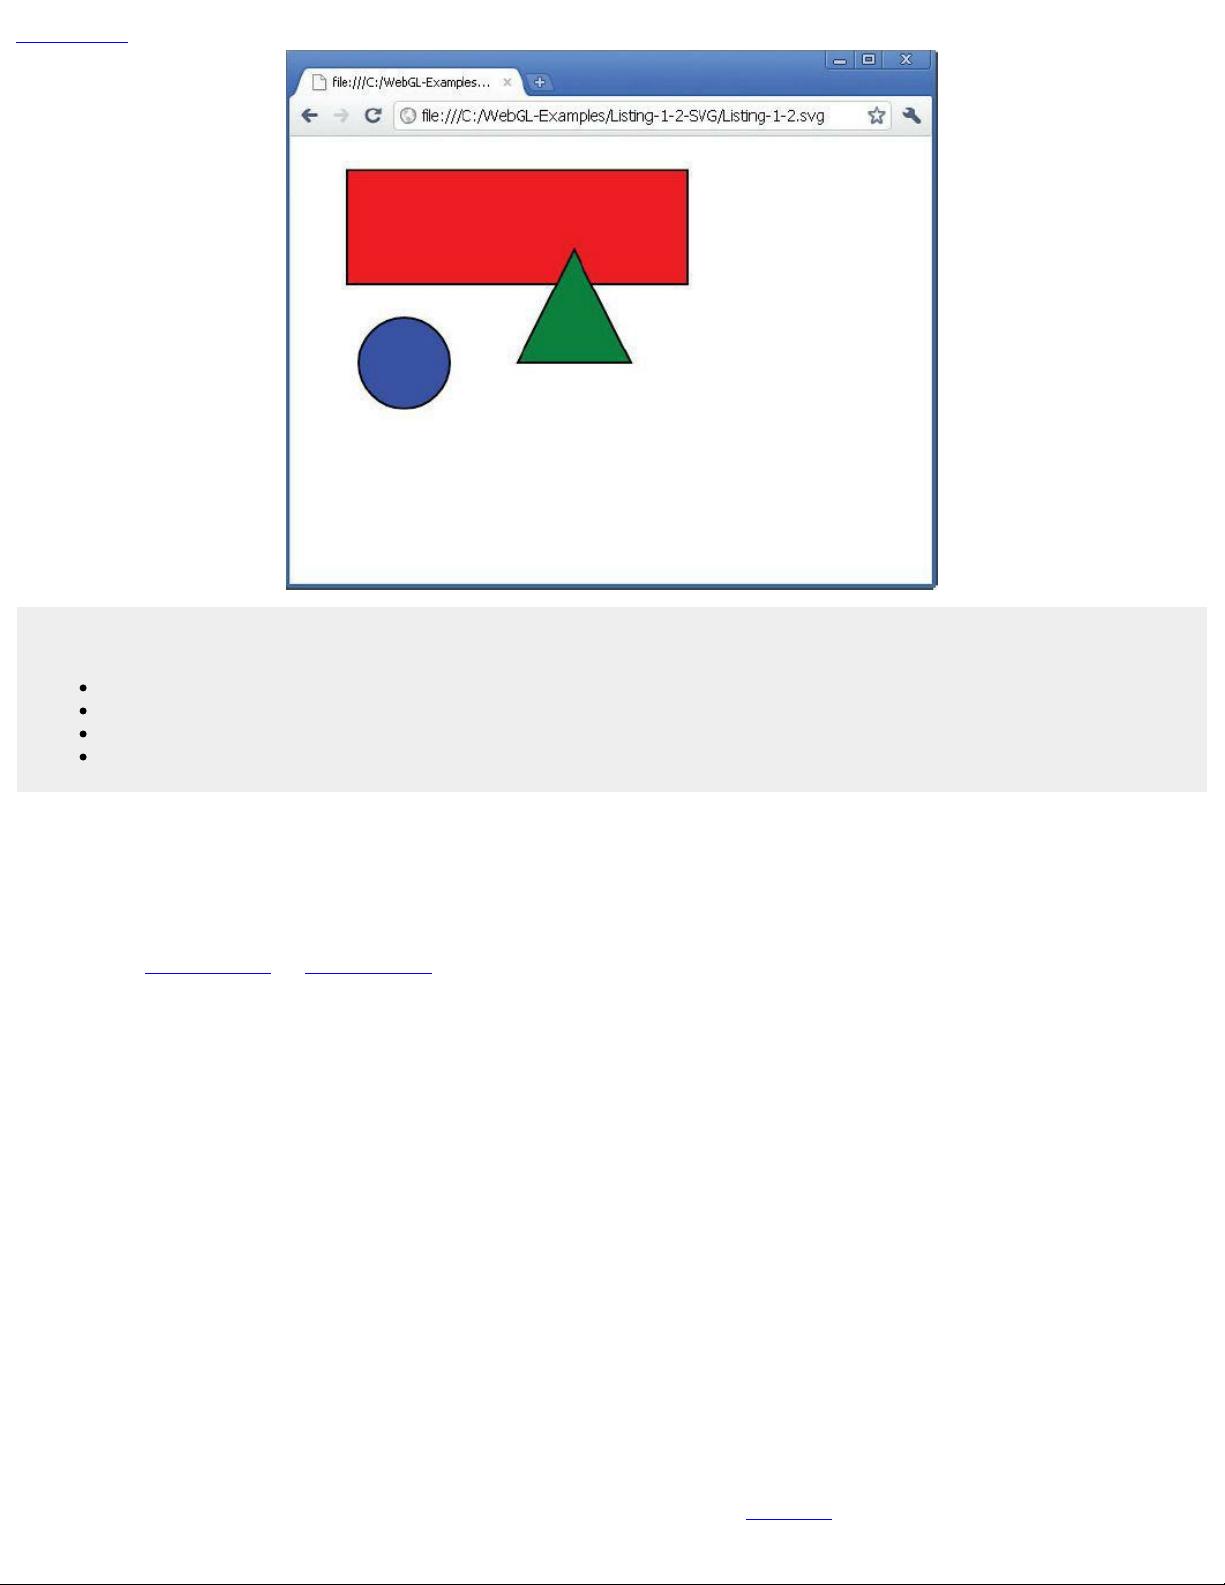
第三章“Drawing WebGL Drawing Primitives and Drawing Methods”深入探讨了WebGL的绘图原语和绘图方法。本章介绍了类型化数组,以及使用不同方式来绘制图形,包括数据的交织存储以优化性能。此外,还介绍了如何使用顶点数组或常量顶点数据来进一步提升效率。章节末尾,作者通过一个更复杂的例子来总结所学内容。
第四章“Compact JavaScript Libraries and Transformations”关注JavaScript中的矩阵和向量操作,这对于3D变换至关重要。本章解释了完整的变换管道,让读者了解如何在实践中应用这些变换。强调了变换顺序的重要性,并通过一个实例展示了如何绘制多个经过变换的物体。
第五章“Texturing”则介绍了纹理处理,这是赋予3D图形表面细节和真实感的关键。这一章首先讨论了上下文丢失的问题,然后引入了2D纹理的概念,使读者能够为他们的3D模型添加色彩和质感。
这本书全面而详细地介绍了WebGL编程的各个方面,不仅适合初学者,也对有经验的开发者提供了宝贵的参考。通过学习,读者将能够熟练地使用WebGL创建复杂的3D图形应用程序,充分利用现代浏览器的图形处理能力。
![](https://csdnimg.cn/release/download_crawler_static/8220353/bg10.jpg)
An OpenGL ES 2.0 Code Snippet
Below, you see a short snippet of OpenGL ES 2.0 source code. Since OpenGL ES 2.0 is fully shader-based (in the same way as WebGL), quite a lot of source
code is needed to create even a simple example. The snippet below contains some source code that would be part of an application that draws a single triangle on
the screen.
GLfloat triangleVertices[] = {0.0f, 1.0f, 0.0f,
-1.0f, -1.0f, 0.0f,
1.0f, -1.0f, 0.0f};
// Clear the color buffer
glClear(GL_COLOR_BUFFER_BIT);
// Specify program object that contains the linked shaders
glUseProgram(programObject);
// Load the vertex data into the shader
glVertexAttribPointer(0, 3, GL_FLOAT, GL_FALSE, 0, triangleVertices);
glEnableVertexAttribArray(0);
glDrawArrays(GL_TRIANGLES, 0, 3);
eglSwapBuffers(myEglDisplay, myEglSurface);
First, you see a vector called triangleVertices that specifies the three vertices for the triangle. Then the color buffer is cleared with a call to glClear(). What
is not shown in this short code snippet is how the vertex shader and the fragment shader are compiled and linked to a program object. These steps have to happen
before the call to glUseProgramObject() that specifies which program object you want to use for rendering. The program object contains the compiled and linked
vertex shader and fragment shader.
SOME KEY POINTS TO REMEMBER ABOUT OPENGL ES 2.0
Here are some important things to keep in mind about OpenGL ES 2.0:
OpenGL ES 2.0 is an open standard for 3D graphics for embedded devices such as mobile phones.
OpenGL ES 1.x and 2.0 specifications were created by the Khronos Group, which promotes the specifications.
OpenGL ES 2.0 is an immediate-mode API.
OpenGL ES 2.0 is not backward compatible with previous releases. This is a different strategy than that used for desktop OpenGL.
OpenGL ES 2.0 is very similar to WebGL and you can transfer source code and ideas very easily from OpenGL ES 2.0 to WebGL. OpenGL ES
Shading Language is also used as the programming language for the shaders in both OpenGL ES 2.0 and WebGL.
Direct3D
DirectX is the name of the Microsoft multimedia and game programming API. One important part of this API is Direct3D for 3D graphics programming. Direct3D
can be used for many programming languages, such as C++, C#, and Visual Basic .NET. But even though it has support for several languages, it only works on
devices that run the Microsoft Windows operating system.
On a conceptual level, Direct3D has similarities with OpenGL, OpenGL ES, and WebGL since it is also an API to handle 3D graphics. If you have experience
with Direct3D, then you probably have a good understanding of 3D graphics concepts such as the graphics pipeline, the Z-buffer, shaders, and texturing. Even
though Direct3D uses different naming of some of the concepts, many things will be familiar. However, Direct3D is very different from WebGL when it comes to
the details of the APIs.
A Brief History of Direct3D
In 1995 Microsoft bought a company called RenderMorphics, which developed a 3D graphics API called Reality Lab. Microsoft used the expertise from
RenderMorphics to implement the first version of Direct3D, which they shipped in DirectX 2.0 and DirectX 3.0. The decision by Microsoft to not embrace
OpenGL but instead create Direct3D as their proprietary API has led to increased fragmentation for 3D graphics on desktops. On the other hand, it has probably
also resulted in healthy competition for the 3D graphics industry that has led to innovation for both OpenGL and Direct3D.
An important milestone for Direct3D was when programmable shaders were introduced in version 8.0. The shaders were programmed in an assembly-like
language. In Direct3D 9.0, a new shader programming language was released. Called High Level Shading Language (HLSL), it was developed by Microsoft in
collaboration with NVIDIA. HLSL for Direct3D corresponds to OpenGL ES Shading Language for WebGL and OpenGL ES 2.0.
A Direct3D Code Snippet
The code snippet that follows shows how a scene is rendered and displayed with Direct3D. Before this code would be executed, you would typically have to set up
and initialize Direct3D and create a Direct3D Device. In this code snippet, it is assumed that a pointer to the Direct3D Device is stored in the global variable
g_pd3dDevice. This pointer is used to access the functions of the API.
void render(void) {
// clear the back buffer
g_pd3dDevice->Clear( 0, NULL, D3DCLEAR_TARGET,
D3DCOLOR_COLORVALUE(0.0f,0.0f,0.0f,1.0f), 1.0f, 0 );
// Signal to the system that rendering will begin
g_pd3dDevice->BeginScene();
// Render geometry here...
// Signal to the systme that rendering is finished
g_pd3dDevice->EndScene();
// Show the rendered geometry on the display
g_pd3dDevice->Present( NULL, NULL, NULL, NULL );
}
The code starts by calling Clear() to clear the color buffer. This call looks a bit more complicated than the corresponding call for OpenGL, OpenGL ES 2.0, or
![](https://csdnimg.cn/release/download_crawler_static/8220353/bg11.jpg)
The code starts by calling Clear() to clear the color buffer. This call looks a bit more complicated than the corresponding call for OpenGL, OpenGL ES 2.0, or
WebGL, since it has more arguments.
The first two arguments are very often zero and NULL. You can use them to specify that you want to clear only part of the viewport. Setting zero and NULL means
that you want to clear the complete color buffer.
The third argument is set to D3DCLEAR_TARGET, which means that you clear the color buffer. It would be possible to specify flags to clear the Z-buffer and the
stencil buffer in this argument as well.
The fourth argument specifies the RGBA color that you want to clear the color buffer to. In this case, the color buffer is cleared to an opaque black color.
The last two arguments are used to set the values that the Z-buffer and the stencil buffer should be cleared to. Since the third argument only specified that you
wanted to clear the color buffer, the values of the last two arguments do not matter in this example.
In Direct3D you have to call BeginScene() to specify that you want to begin to draw your 3D scene. You call EndScene() to specify that you are finished with
the drawing. Between these two calls, you specify all the geometry that you want to render. In the previous code snippet, no code is included to render the
geometry.
Finally you would call the function Present() to display the back buffer you just rendered on the display.
SOME KEY POINTS TO REMEMBER ABOUT DIRECT3D
Here are some important things to keep in mind about Direct3D:
Direct3D is a Microsoft proprietary standard for 3D graphics.
Direct3D only works on devices running Microsoft Windows.
Direct3D uses a similar graphics pipeline to OpenGL, OpenGL ES 2.0, and WebGL.
Direct3D uses HLSL to write source code for the shaders. This language corresponds to GLSL for desktop OpenGL, and OpenGL ES Shading
Language for OpenGL ES 2.0 and WebGL.
A pixel shader in Direct3D corresponds to a fragment shader in OpenGL, OpenGL ES 2.0, or WebGL.
HTML5 Canvas
HTML5 is the fifth iteration of Hyper Text Markup Language, or HTML. The HTML5 specification contains a lot of interesting new features for you as a web
developer. One of the most interesting ones is the HTML5 canvas.
The HTML5 canvas is a rectangular area of your web page where you can draw graphics by using JavaScript. In the context of WebGL, the HTML5 canvas is
especially interesting because it was the basis for the initial WebGL experiments that were performed by Vladimir Vukićević at Mozilla. WebGL is now designed
as a rendering context for the HTML5 canvas element. The original 2D rendering context (the CanvasRenderingContext2D interface) that is supported by the
HTML5 canvas can be retrieved from the canvas element by calling the following code:
var context2D = canvas.getContext(“2d”);
A WebGL rendering context (the WebGLRenderingContext interface) can be retrieved from the canvas element in the same way, but instead of specifying the
string "2d", you specify "webgl" like this:
var contextWebGL = canvas.getContext(“webgl”);
After retrieving a rendering context as above, you can use the context2D to call functions supported by the original HTML5 canvas (the
CanvasRenderingContext2D). Conversely, you could use the contextWebGL to call functions supported by WebGL (the WebGLRenderingContext).
A Brief History of HTML5 Canvas
The Apple Mac OS X operating system contains an application called Dashboard. You are probably familiar with it if you are a Mac user. If not, Dashboard is
basically an application that hosts mini-applications called widgets. These widgets are based on the same technologies used by web pages, such as HTML, CSS,
and JavaScript.
Both Dashboard and the Safari web browser use the WebKit open source browser engine to render web content, and by introducing the canvas tag in WebKit in
2004, Apple created a totally new way of drawing 2D graphics in these applications. In 2005, it was implemented by Mozilla Firefox and in 2006 by Opera. The
canvas tag was included in the HTML5 specification, and in 2011, Microsoft released Internet Explorer 9, which was the first version of Internet Explorer with
canvas support.
An HTML5 Canvas Code Snippet
The code in Listing 1-1 shows how the canvas element is used to draw some simple 2D graphics from JavaScript. All code is embedded within a single HTML file.
If you start by looking at the bottom of the listing, you can see that the only element that is within the <body> start tag and the </body> end tag of the page is the
<canvas> element. The <canvas> defines the rendering surface for the graphics that are drawn with the JavaScript calls to the canvas API. You can also see that
the onload event handler is defined on the <body> tag and that it calls the JavaScript function draw(). This means that when the document is fully loaded, the
browser automatically triggers the onload event handler and the draw() function is called.
LISTING 1-1: An example of an HTML5 canvas tag
<!DOCTYPE HTML>
<html lang=”en”>
<head>
<script type=”text/javascript”>
function draw() {
![](https://csdnimg.cn/release/download_crawler_static/8220353/bg12.jpg)
var canvas = document.getElementById(“canvas”);
if (canvas.getContext) {
var context2D = canvas.getContext(“2d”);
// Draw a red rectangle
context2D.fillStyle = “rgb(255,0,0)”;
context2D.fillRect (20, 20, 80, 80);
// Draw a green rectangle that is 50% transparent
context2D.fillStyle = “rgba(0, 255, 0, 0.5)”;
context2D.fillRect (70, 70, 80, 100);
// Draw a circle with black color and linewidth set to 5
context2D.strokeStyle = “black”;
context2D.lineWidth = 5;
context2D.beginPath();
context2D.arc(100, 100, 90, (Math.PI/180)*0, (Math.PI/180)*360, false);
context2D.stroke();
context2D.closePath();
// Draw some text
context2D.font = “20px serif”;
context2D.fillStyle = “#ff0000”;
context2D.fillText(“Hello world”, 40,220);
}
}
</script>
</head>
<body onload=”draw();”>
<canvas id=”canvas” width=”300” height=”300”>
Your browser does not support the HTML5 canvas element.
</canvas>
</body>
</html>
Going back to the top of the code listing, you have the JavaScript within the <head> start tag and the </head> end tag. The first thing that happens within the
draw() function is that the function document.getElementById() is used to retrieve a reference to the canvas element that is part of the body. If this succeeds, the
reference is then used to obtain a 2D rendering context with the code:
var context2D = canvas.getContext(“2d”);
This code line was discussed earlier in this section. As you will see when you look at your first WebGL example in the next chapter, the part of the code that is
described so far is very similar to the corresponding initialization code in a WebGL example. Listing 1-1 shows an example of how the HTML5 canvas tag is used.
After you have a CanvasRenderingContext2D, you can use it to draw with the API that it exports. The first thing drawn is a red rectangle. The fill color is set to
red by setting the property fillStyle. There are several ways to specify the actual color that is assigned to fillStyle, including the following:
Use the rgb() method, which takes a 24-bit RGB value (context2D.fillStyle = rgb(255,0,0); ).
Use the rgba() method, which takes a 32-bit color value where the last 8 bits represent the alpha channel of the fill color (context2D.fillStyle =
rgba(255,0,0,1); ).
Use a string, which represents the fill color as a hex number (context2D.fillStyle = "#ff0000").
For the first rectangle that is drawn (the red one), the method rgb() described under the first bullet above is used to set the fill color. Then the fillRect()
method is called to draw the actual rectangle and fill it with the current fill color. The method takes the coordinate for the top-left corner of the rectangle and the
width and the height of the rectangle:
fillRect(x, y, width, height)
Here are the lines of code to set the fill color and draw the first rectangle again:
// Draw a red rectangle
context2D.fillStyle = “rgb(255,0,0)”;
context2D.fillRect (20, 20, 80, 80);
After the first rectangle is drawn, a second green rectangle is drawn with this code:
// Draw a green rectangle that is 50% transparent
context2D.fillStyle = “rgba(0, 255, 0, 0.5)”;
context2D.fillRect (70, 70, 80, 100);
This second rectangle uses the method rgba() to set the fillStyle to be green and 50-percent transparent. Since the two rectangles overlap a bit, you can see
the red rectangle through the green rectangle.
The third shape drawn is a circle. To draw a circle, you first need to specify the beginning of a path. A path is one or more drawing commands that are specified
together. After all the drawing commands are specified, you can select whether you want to stroke the path or fill it. In this case, when you want to draw a single
circle, it might seem complicated to have to specify a path, but if you had a more complicated shape, you would appreciate the way this API is designed.
You specify the beginning of a path with the method beginPath(). Then you specify the drawing commands that should build up your path, and finally you
specify that your path is finished with closePath().
In this case, the only command you want to be part of your path is a command to draw a circle. However, the canvas API does not contain an explicit method to
draw a circle. Instead, there are methods that you can use to draw arcs. In this example, the following method was used:
arc(x, y, radius, startAngle, endAngle, anticlockwise)
The x and y arguments specify the center of the circle. The radius is the radius of the circle that the arc is drawn on, and the startAngle and endAngle specify
where the arc should start and end in radians. The last argument anticlockwise is a Boolean that specifies the direction of the arc.
If you load the source code above into your browser, you should see something similar to what’s shown in Figure 1-14.
![](https://csdnimg.cn/release/download_crawler_static/8220353/bg13.jpg)
If you load the source code above into your browser, you should see something similar to what’s shown in Figure 1-14.
FIGURE 1-14: A simple drawing with HTML5 canvas
SOME KEY POINTS TO REMEMBER ABOUT THE HTML5 CANVAS
Here are some things you should keep in mind about the HTML5 canvas:
The HTML5 canvas specifies an immediate-mode API to draw 2D graphics on a web page.
WebGL also draws on the HTML5 canvas, but uses the WebGLRenderingContext instead of the original CanvasRenderingContext2D.
Scalable Vector Graphics
Scalable Vector Graphics (SVG) is a language used to describe 2D graphics with XML. As the name indicates, it is based on vector graphics, which means it uses
geometrical primitives such as points, lines, and curves that are stored as mathematical expressions. The program that displays the vector graphics (for example, a
web browser) uses the mathematical expressions to build up the screen image. In this way the image stays sharp, even if the user zooms in on the picture. Of the
graphics standards that are described in this chapter, SVG has the least to do with WebGL. But you should know about it since it is a common graphics standard on
the web and is also an example of a retained-mode API.
A Brief History of SVG
In 1998, Microsoft, Macromedia, and some other companies submitted Vector Markup Language (VML) as a proposed standard to W3C. At the same time, Adobe
and Sun created another proposal called Precision Graphics Markup Language (PGML). W3C looked at both proposals, took a little bit of VML and a little bit of
PGML, and created SVG 1.0, which became a W3C Recommendation in 2001. After this, an SVG 1.1 Recommendation was released, and there is also an SVG
1.2 Recommendation that is still in a Working Draft.
In addition to these “full” SVG specifications, there is also an SVG Mobile Recommendation that includes two simplified profiles for mobile phones. These are
called SVG Tiny and SVG Basic. SVG Tiny targets very simple mobile devices, while SVG Basic targets higher-level mobile devices.
An SVG Code Snippet
Listing 1-2 shows a very simple example of SVG code. The code draws a red rectangle, a blue circle, and a green triangle on the screen.
LISTING 1-2: A simple SVG example
<?xml version=”1.0” standalone=”no”?>
<!DOCTYPE svg PUBLIC “-//W3C//DTD SVG 1.1//EN”
“http://www.w3.org/Graphics/SVG/1.1/DTD/svg11.dtd”>
<svg width=”100%” height=”100%” version=”1.1”
xmlns=”http://www.w3.org/2000/svg”>
<rect x=”50” y=”30” width=”300” height=”100”
fill=”red” stroke-width=”2” stroke=”black”/>
<circle cx=”100” cy=”200” r=”40” stroke=”black”
stroke-width=”2” fill=”blue”/>
<polygon points=”200,200 300,200 250,100”
fill=”green” stroke-width=”2” stroke=”black” />
</svg>
I will not go through all the details of this code, but as you can see, SVG is quite compact. If you view this code in a web browser with SVG support, you will
see something like Figure 1-15.
![](https://csdnimg.cn/release/download_crawler_static/8220353/bg14.jpg)
FIGURE 1-15: A simple drawing with SVG
SOME KEY POINTS TO REMEMBER ABOUT SVG
Here are some things you should keep in mind about SVG:
SVG is an XML-based technology for describing 2D vector graphics.
Since it is a vector graphics format, SVG can be scaled without degrading the image quality.
Since SVG is text based, it is easy to copy and paste part of an image. It can also be easily indexed by web crawlers.
SVG is a retained-mode API that is very different from WebGL.
VRML and X3D
Up to now, this chapter has given you an overview of some of the graphics technologies that are most relevant in the context of WebGL. Two other technologies
are less interesting but still deserve to be mentioned. Virtual Reality Markup Language (VRML) and its successor X3D are both XML-based technologies to
describe 3D graphics. Neither VRML nor X3D is natively implemented in any of the major browsers. If you want to know more about VRML or X3D, two good
places to start are www.web3d.org and www.x3dom.org.
LINEAR ALGEBRA FOR 3D GRAPHICS
Linear algebra is a part of mathematics that deals with vectors and matrices. To understand 3D graphics and WebGL, it is good to have at least a basic
understanding of linear algebra. In the following sections, you get an overview of a selected part of linear algebra that is useful to understand 3D graphics and
WebGL.
If you feel that you already have enough experience in this topic, please feel free to skip this part. If you are the kind of person who feels that mathematics is
difficult or boring, I still recommend that you try to understand the information that is presented here. The text is not that abstract nor as general as these texts often
are. Instead, it focuses on the concepts that are important for 3D graphics and WebGL.
Coordinate System
To be able to specify where you want to draw your shapes with WebGL, you need a coordinate system. A coordinate system is sometimes called a space. There are
many different kinds of coordinate systems, but the coordinate system that is used in WebGL is called a three-dimensional, orthonormal, right-handed coordinate
system. This sounds a bit more complicated than it is.
Three-dimensional means that it has three axes, which are usually called x, y, and z. Orthonormal means that all the axes are orthogonal (perpendicular) to the
other two and that the axes are normalized to unit length. Right-handed refers to how the third axis (the z-axis) is oriented. If the x- and y-axes are positioned so they
are orthogonal and meet in the origin, there are two options for how to orient the z-axis so it is orthogonal against both x and y. Depending on which option you
choose, the coordinate system is either called right-handed or left-handed.
One way to remember the directions for the axis of a right-handed coordinate system is shown in Figure 1-16. You use your right hand and assign the x-, y-, and
z-axes to your thumb, index finger, and middle finger in that order. The thumb indicates the direction of the x-axis, the index finger the direction of the y-axis, and
the middle finger the direction of the z-axis.
剩余172页未读,继续阅读
169 浏览量
192 浏览量
211 浏览量
478 浏览量
180 浏览量
193 浏览量
![](https://profile-avatar.csdnimg.cn/aa4e6c05a1a44b01a91816cad0b332c7_hlfly821022.jpg!1)
hlfly
- 粉丝: 0
上传资源 快速赚钱
我的内容管理 展开
我的资源 快来上传第一个资源
我的收益
登录查看自己的收益我的积分 登录查看自己的积分
我的C币 登录后查看C币余额
我的收藏
我的下载
下载帮助
![](https://csdnimg.cn/release/wenkucmsfe/public/img/voice.245cc511.png)
最新资源
- Java平台下的MySQL数据库连接器使用指南
- Android开发:IconEditText实现图标与输入框结合
- Node.js结合TI Sensortag通过socket.io发布数据到HTML
- Flutter入门指南:MDC-100系列代码实验室
- MyBatisPlus生成器使用教程与文件解压指南
- 深入浅出BaseAdapter的传统实现方法
- C语言学习资料包:编程代码与实践指南
- Android图片处理SDK核心功能及工具类介绍
- Pebble平台上的同步番茄钟应用开发
- Elan Smart Pad驱动卸载指南及触摸板问题解决
- Activiti流程演示Demo:独立Web应用的实践指南
- 快速飞行动效设计:彩带跟随与购物车动画
- 高校收费管理系统:全面管理学生收费情况
- Toucan库:定义和检索Clojure应用程序模型
- ActiveAndroid ORM框架在Android中的实践演示
- rjs-jade:将Jade整合至RequireJS环境的插件
安全验证
文档复制为VIP权益,开通VIP直接复制
![](https://csdnimg.cn/release/wenkucmsfe/public/img/green-success.6a4acb44.png)