Android Studio 3.6 下使用 OpenCV 实现 JNI 调用详解
166 浏览量
更新于2024-08-28
收藏 172KB PDF 举报
基于Android Studio 3.6的JNI教程之OpenCV实例详解
Android Studio 3.6版本中,使用JNI(Java Native Interface)技术来调用OpenCV库,实现图像处理功能。下面是详细的教程。
一、基本环境配置
在开始之前,需要配置基本环境,包括:
* 安装Android Studio 3.6
* 下载NDK r14b版本
* 下载OpenCV 3.4.1 Android SDK
二、新建工程OpenCVDemo
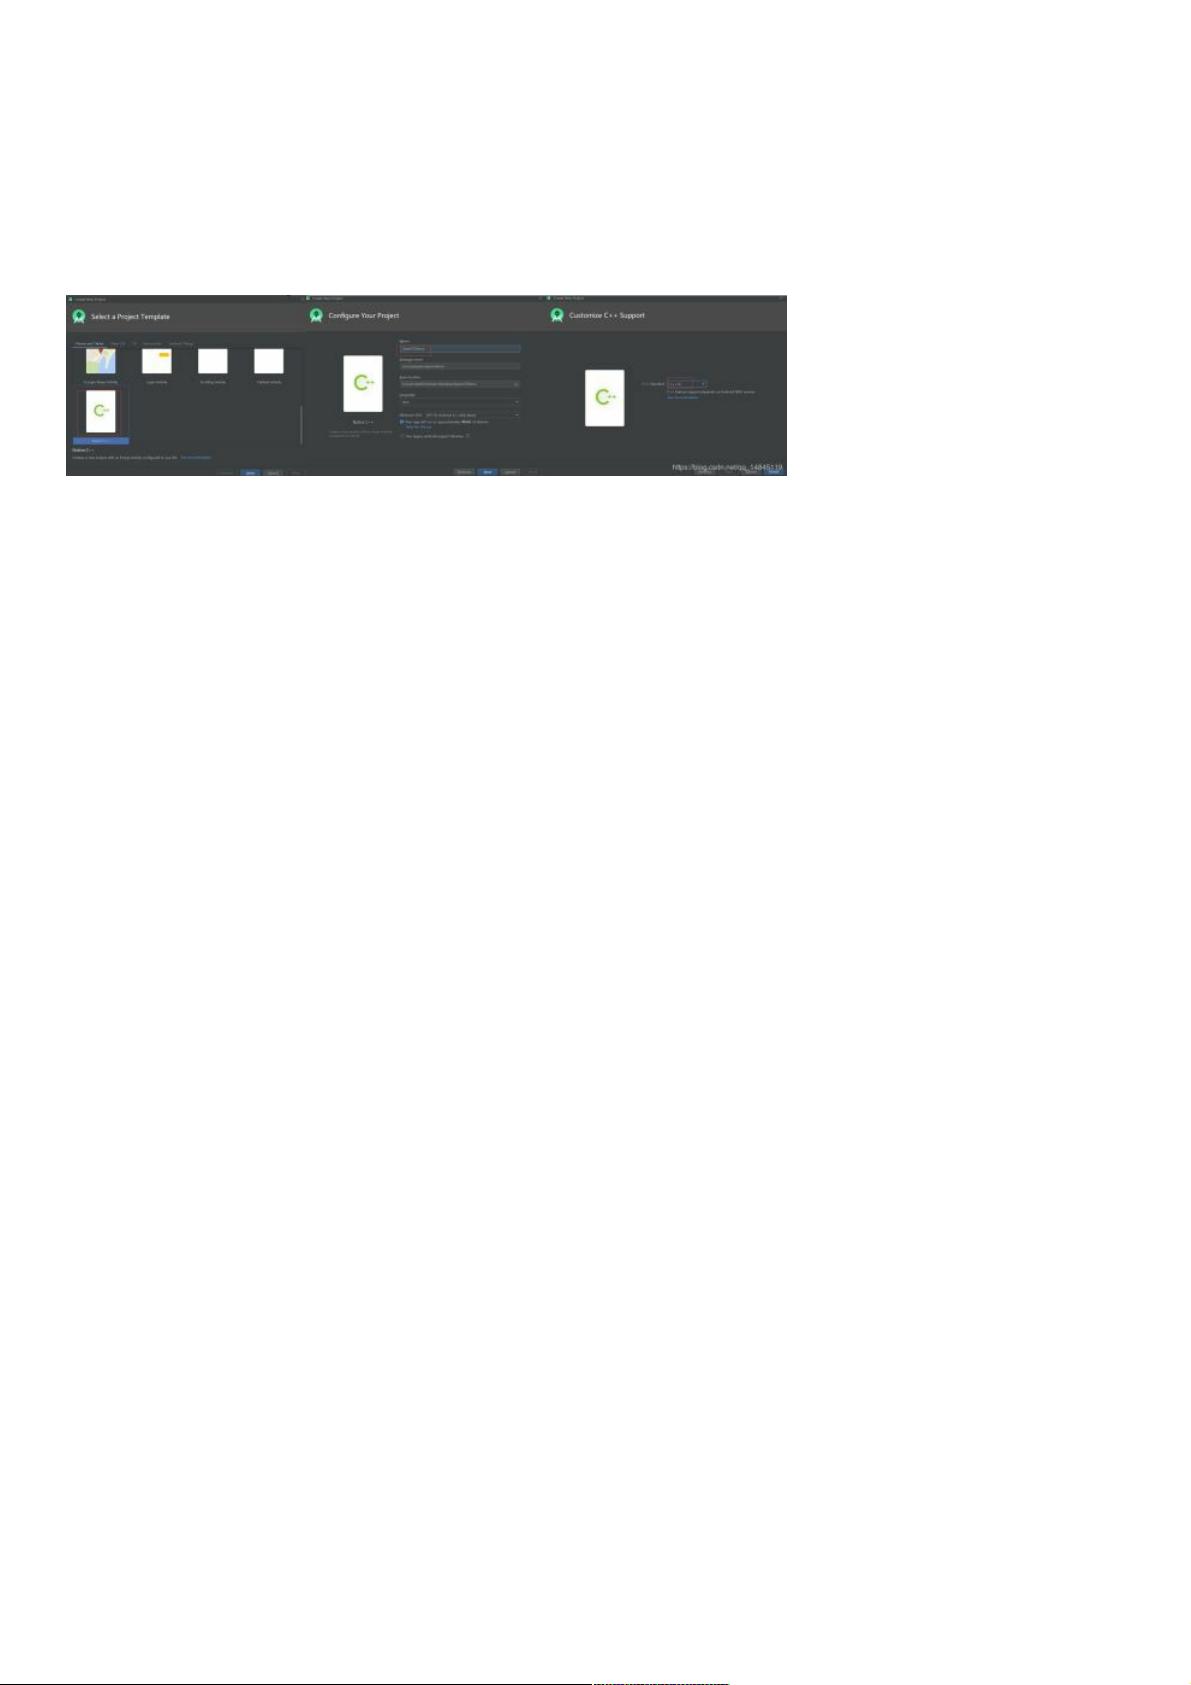
* 打开Android Studio,新建一个工程,选择Native C++类型,最后选择C++14支持。
* 在Project Structure中,设置NDK路径为r14b版本。
三、添加图片资源
* 任意找一张图片,复制到res/drawable目录下。
四、修改布局文件
* 修改res/layout/activity_main.xml文件,添加ImageView和两个Button控件。
<?xml version="1.0" encoding="utf-8"?>
<RelativeLayout xmlns:android="http://schemas.android.com/apk/res/android"
android:layout_width="match_parent"
android:layout_height="match_parent">
<ImageView
android:id="@+id/imageView"
android:layout_width="match_parent"
android:layout_height="match_parent"/>
<LinearLayout
android:layout_width="match_parent"
android:layout_height="wrap_content"
android:layout_alignParentBottom="true"
android:orientation="horizontal">
<Button
android:id="@+id/show"
android:layout_width="match_parent"
android:layout_height="wrap_content"
android:layout_weight="1"
android:text="显示"/>
<Button
android:id="@+id/process"
android:layout_width="match_parent"
android:layout_height="wrap_content"
android:text="处理"/>
</LinearLayout>
</RelativeLayout>
五、JNI技术调用OpenCV库
* 在Android Studio中,使用JNI技术调用OpenCV库,实现图像处理功能。
* 需要编写C++代码,使用OpenCV库中的函数来处理图像。
* 使用Java代码来调用C++代码,实现图像处理功能。
六、结论
本教程介绍了如何使用Android Studio 3.6和JNI技术调用OpenCV库,实现图像处理功能。通过本教程,我们可以了解到如何使用OpenCV库来处理图像,并将其应用于Android应用程序中。
基于基于Android studio3.6的的JNI教程之教程之opencv实例详解实例详解
基本环境:
Android studio3.6
NDK:r14b(尽量使用该版本)
Opencv3.4.1 android sdk
(1)新建工程OpenCVDemo,选择,一定要选择Native c++类型,最后要选c++14支持。
(2)File->Project Structure->SDK Location,设置这3个路径,NDK选择r14b。
(3)任意找一张图片,复制到res/drawable。
(4)修改布局文件res/layout/ activity_main.xml
<?xml version="1.0" encoding="utf-8"?>
<RelativeLayout xmlns:android="http://schemas.android.com/apk/res/android"
android:layout_width="match_parent"
android:layout_height="match_parent">
<ImageView
android:id="@+id/imageView"
android:layout_width="match_parent"
android:layout_height="match_parent" />
<LinearLayout
android:layout_width="match_parent"
android:layout_height="wrap_content"
android:layout_alignParentBottom="true"
android:orientation="horizontal">
<Button
android:id="@+id/show"
android:layout_width="match_parent"
android:layout_height="wrap_content"
android:layout_weight="1"
android:text="show" />
<Button
android:id="@+id/process"
android:layout_width="match_parent"
android:layout_height="wrap_content"
android:layout_weight="1"
android:text="process" />
</LinearLayout>
</RelativeLayout>
(5)修改java文件,app/src/main/java/ com.example.opencvdemo/ MainActivity
主要修改包括修改
继承OnClickListener类,
修改onCreate方法
增加c++的接口函数,getEdge
实现点击按钮的方法,
整体代码如下,
(6)Termi
package com.example.opencvdemo;
import androidx.appcompat.app.AppCompatActivity;
下载后可阅读完整内容,剩余5页未读,立即下载
219 浏览量
197 浏览量
402 浏览量
219 浏览量
311 浏览量
121 浏览量
310 浏览量
154 浏览量
268 浏览量

weixin_38555019
- 粉丝: 10
 我的内容管理
展开
我的内容管理
展开


最新资源
- Oracle Pro*C教程:预编译程序开发指南
- Sniffer学习与网络故障排查手册
- 使用Sniffer Infinistream深度分析网络攻击行为
- ORACLE数据库实用命令大全与参考
- AIX+Oracle9i+WebLogic8.1集成环境详细安装与配置指南
- ASP.NET常用函数详解与应用
- Oracle管理员指南:数据库与DBMS入门
- SIP协议详解:RFC3261中文版关键内容梳理
- SDP协议详解:互联网中的会话描述协议
- 优化Oracle SQL查询与性能监控关键点
- ASP.NET结合客户端脚本技巧探索
- JAVA编程规范:编码风格与命名约定
- 《Java编程思想》第三版——深度解析设计模式
- Oracle动态性能视图详解:V$与GV$
- iBATIS.NET 数据访问对象框架指南
- Visual C# 2005 LINQ教程:迈向.NET数据访问未来
