Centos 5 Installation Visual Guide
The installation of Centos 5.5 can be easily achieved by following a step-by-step guide. The first step is to set the computer's BIOS boot order to start from the CD/DVD drive. Once this is done, insert the installation disc into the drive and restart the computer. Upon restarting, the computer will display a menu which allows the user to select their preferred installation method. They can choose to enter the graphical interface by pressing "Enter," or enter the text interface by typing "linux text" after the "boot:" prompt. There are also additional options available by pressing the function keys at the top of the keyboard.
It is important to note that if no keys are pressed within 10 seconds, the installation program will default to the graphical interface. It is recommended to use the graphical interface for installation as the installation program has been designed to be very user-friendly.
The next step involves the system detecting hardware information including the hard drive, sound card, monitor, keyboard, and mouse. This information will be displayed on the screen to give the user an overview of the hardware being utilized for the installation.
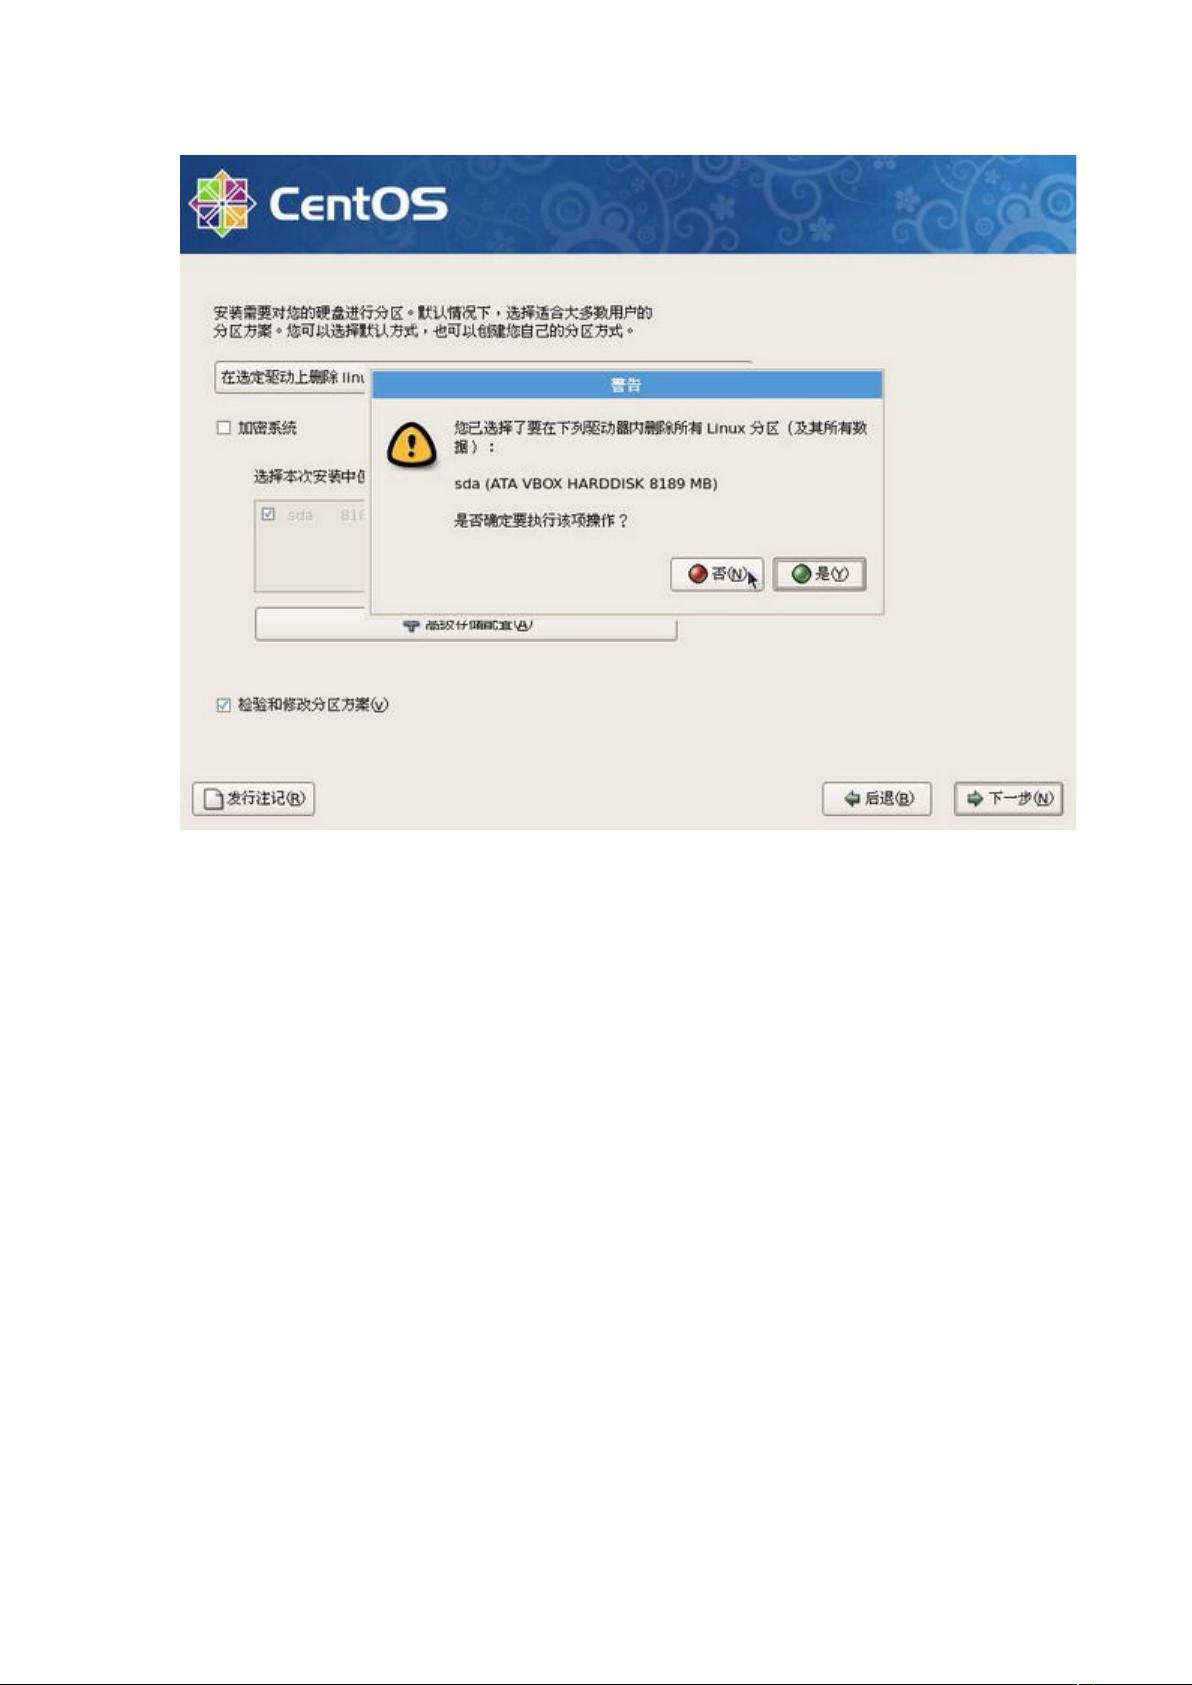
Once the hardware detection is complete, the system will prompt the user to verify the integrity of the installation disc. If the disc is complete and error-free, the user can simply click on "Skip" to bypass this step. However, if there are any doubts about the disc's integrity, the user can click on "OK" to run an analysis of the disc to ensure a smooth installation process.
Following these steps will guide the user through a successful installation of Centos 5.5, and ensure a reliable and stable operating system. It is important to pay attention to the detailed visual guides provided during the installation process, as they can help to alleviate any potential issues and guarantee a smooth and trouble-free installation.


 我的内容管理
收起
我的内容管理
收起
 我的收益 登录查看自己的收益
 我的积分
登录查看自己的积分
我的积分
登录查看自己的积分
 我的C币
登录后查看C币余额
我的C币
登录后查看C币余额
 我的收藏
我的收藏  我的下载
我的下载  下载帮助
下载帮助 


