
python打包生成打包生成so文件的实现文件的实现
1.安装工具安装工具
python3 安装:cython
pip3 install cython -i http://mirrors.aliyun.com/pypi/simple/
pip国内的一些镜像国内的一些镜像
阿里云 http://mirrors.aliyun.com/pypi/simple/
中国科技大学 https://pypi.mirrors.ustc.edu.cn/simple/
豆瓣(douban) http://pypi.douban.com/simple/
清华大学 https://pypi.tuna.tsinghua.edu.cn/simple/
中国科学技术大学 http://pypi.mirrors.ustc.edu.cn/simple/
linux 安装:python-devel,gcc
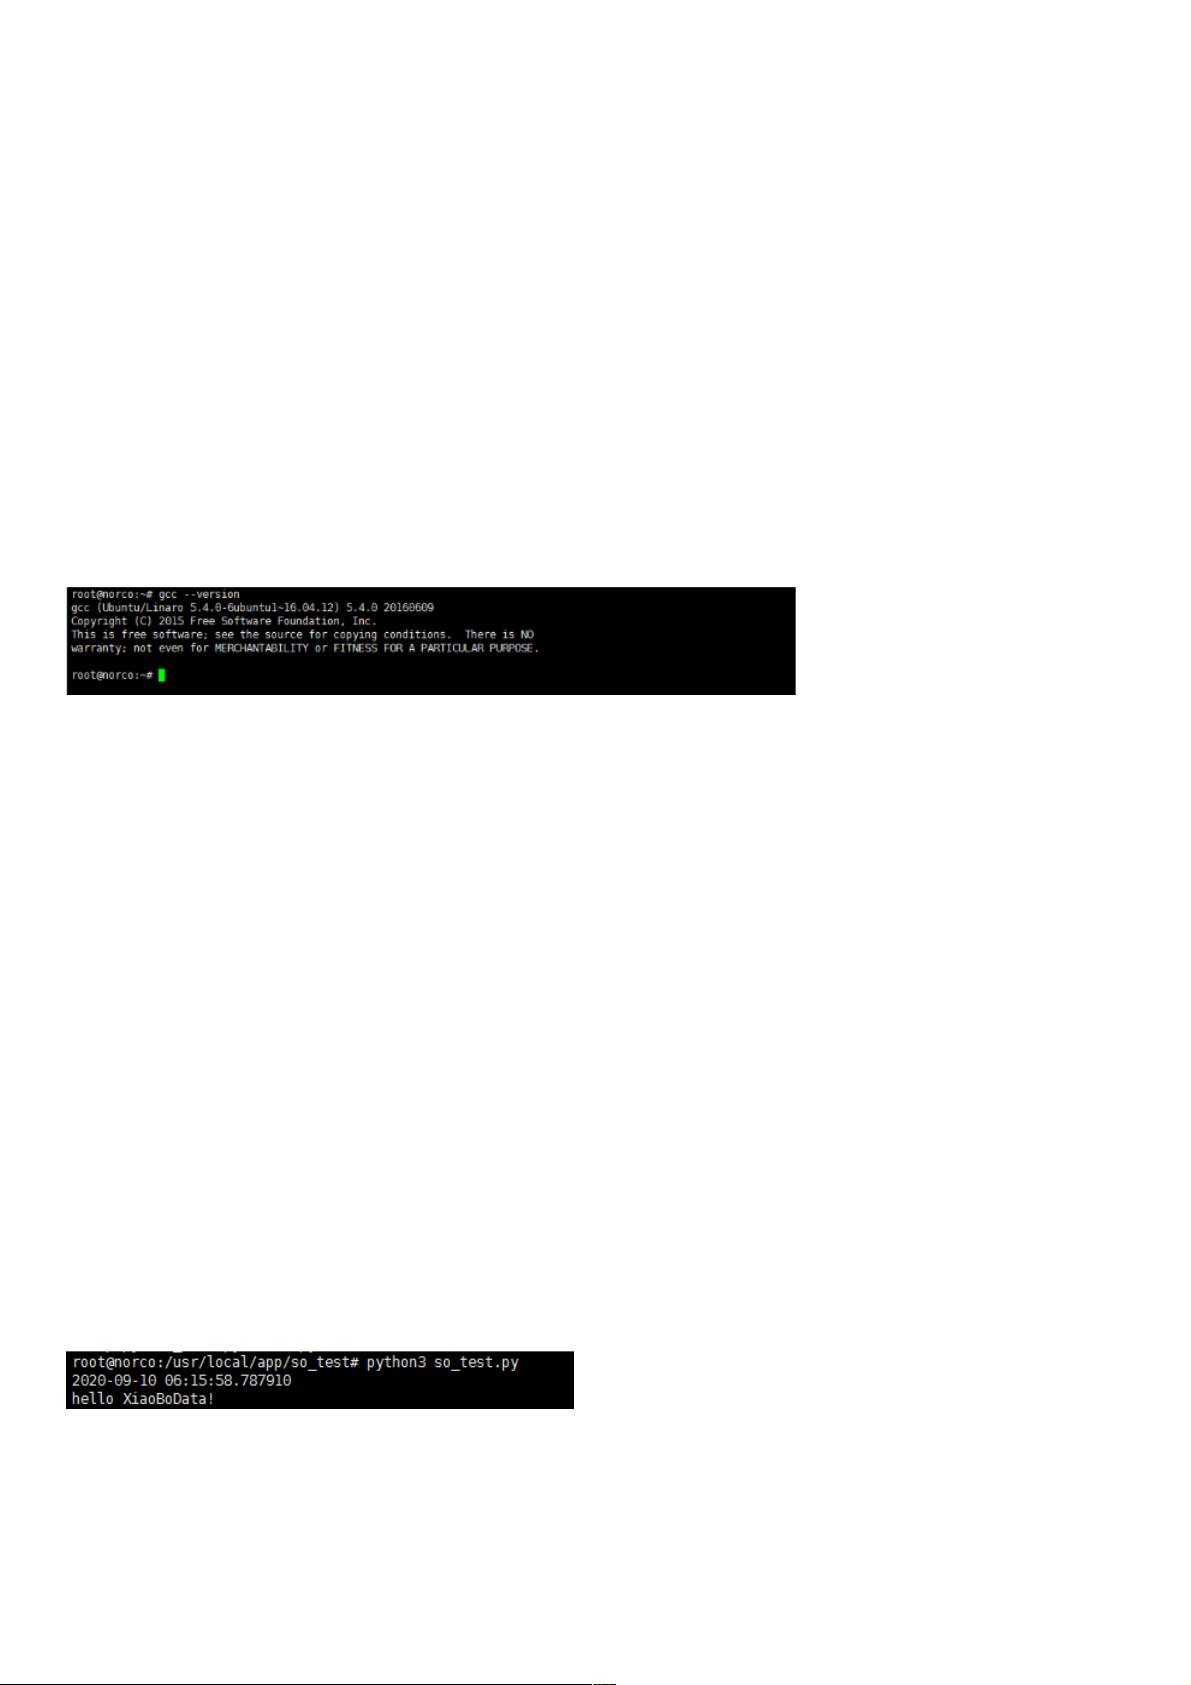
查看gcc版本信息,有的话就不用安装了
gcc --version
没有自行安装对应服务器版本环境的gcc编译安装python-devel
pip3 install python-devel -i http://mirrors.aliyun.com/pypi/simple/
2. Linux下的下的.so文件(测试用例)文件(测试用例)
创建一个测试文件夹
mkdir so_test
so_test文件夹下创建要封装的文件test.py
import datetime
class DataCenter():
def gettime(self):
print(datetime.datetime.now())
def write_data(self):
print("hello XiaoBoData!")
so_test文件夹下创建调用文件 so_test.py
from test import DataCenter
data = DataCenter()
data.gettime()
data.write_data()
首先运行so_test保证代码可以运行成功,之后在做so封装
so_test文件夹下创建打包文件 setup.py
from test import DataCenter
data = DataCenter()
data.gettime()
data.write_data()
最终文件夹下如下:

weixin_38731075
- 粉丝: 1
- 资源: 965
 我的内容管理
收起
我的内容管理
收起
- 我的资源
快来上传第一个资源
 我的收益 登录查看自己的收益
 我的积分
登录查看自己的积分
我的积分
登录查看自己的积分
 我的C币
登录后查看C币余额
我的C币
登录后查看C币余额
 我的收藏
我的收藏  我的下载
我的下载  下载帮助
下载帮助

会员权益专享


最新资源
- RTL8188FU-Linux-v5.7.4.2-36687.20200602.tar(20765).gz
- c++校园超市商品信息管理系统课程设计说明书(含源代码) (2).pdf
- 建筑供配电系统相关课件.pptx
- 企业管理规章制度及管理模式.doc
- vb打开摄像头.doc
- 云计算-可信计算中认证协议改进方案.pdf
- [详细完整版]单片机编程4.ppt
- c语言常用算法.pdf
- c++经典程序代码大全.pdf
- 单片机数字时钟资料.doc
- 11项目管理前沿1.0.pptx
- 基于ssm的“魅力”繁峙宣传网站的设计与实现论文.doc
- 智慧交通综合解决方案.pptx
- 建筑防潮设计-PowerPointPresentati.pptx
- SPC统计过程控制程序.pptx
- SPC统计方法基础知识.pptx
资源上传下载、课程学习等过程中有任何疑问或建议,欢迎提出宝贵意见哦~我们会及时处理!
点击此处反馈


评论0