没有合适的资源?快使用搜索试试~ 我知道了~
首页Restful API
Restful API
需积分: 10 25 下载量 200 浏览量
更新于2023-05-30
收藏 353KB PDF 举报
JERSEY jaxrs-ri A web service is a collection of open protocols and standards used for exchanging data between applications or systems.
资源详情
资源推荐
![](https://csdnimg.cn/release/download_crawler_static/9969479/bg1.jpg)
http://www.tutorialspoint.com/restful/restful_quick_guide.htm
Copyright © tutorialspoint.com
RESTFUL WEB SERVICES - QUICK GUIDE
RESTFUL WEB SERVICES - INTRODUCTION
What is REST Architecture?
REST stands for REpresentational State Transfer. REST is web standards based architecture and
uses HTTP Protocol. It revolves around resource where every component is a resource and a
resource is accessed by a common interface using HTTP standard methods. REST was first
introduced by Roy Fielding in 2000.
In REST architecture, a REST Server simply provides access to resources and REST client accesses
and modifies the resources. Here each resource is identified by URIs/ global IDs. REST uses various
representations to represent a resource like text, JSON, XML. JSON is the most popular one.
HTTP Methods
Following five HTTP methods are commonly used in REST based architecture.
GET - Provides a read only access to a resource.
PUT - Used to create a new resource.
DELETE - Used to remove a resource.
POST - Used to update a existing resource or create a new resource.
OPTIONS - Used to get the supported operations on a resource.
Introduction to RESTFul Web Services
A web service is a collection of open protocols and standards used for exchanging data between
applications or systems. Software applications written in various programming languages and
running on various platforms can use web services to exchange data over computer networks like
the Internet in a manner similar to inter-process communication on a single computer. This
interoperability e. g. , betweenJavaandPython, orWindowsandLinuxapplications is due to the use of open
standards.
Web services based on REST Architecture are known as RESTful web services. These web services
use HTTP methods to implement the concept of REST architecture. A RESTful web service usually
defines a URI, Uniform Resource Identifier a service, provides resource representation such as
JSON and set of HTTP Methods.
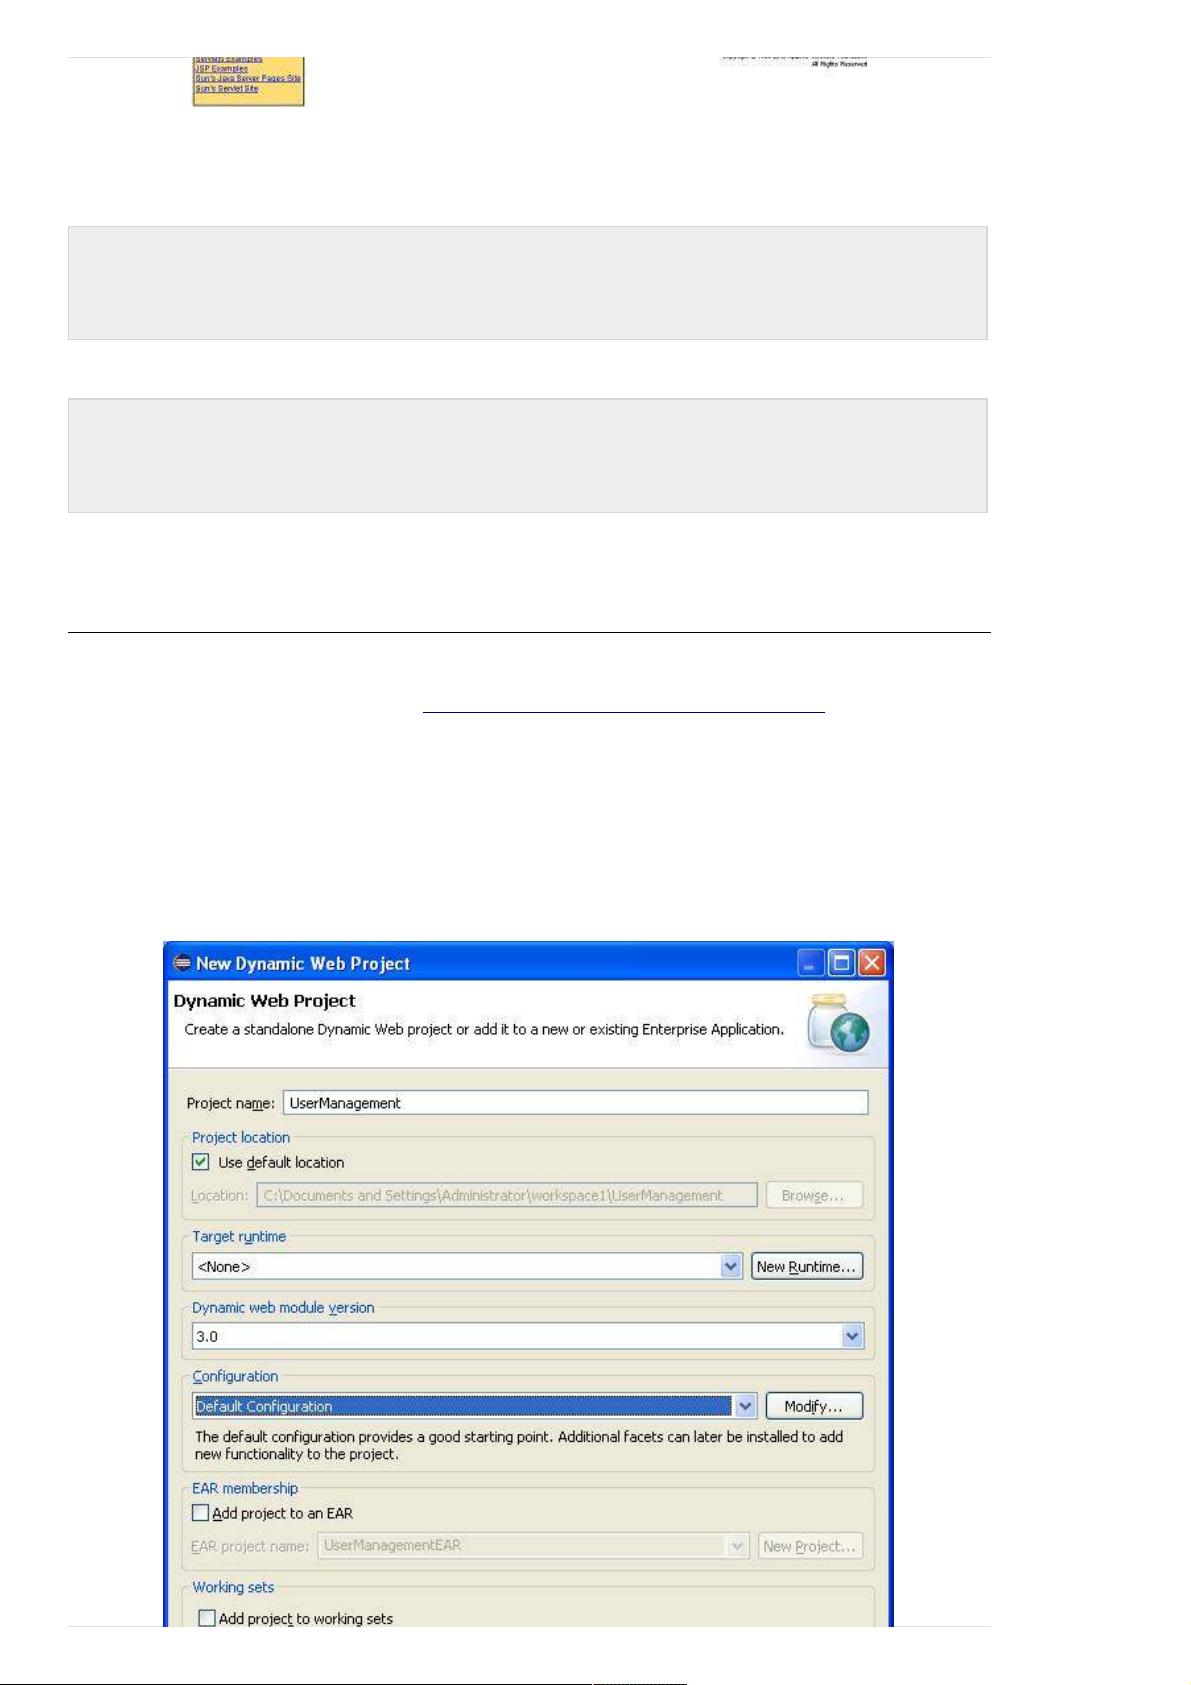
Creating RESTFul Web Service
In next chapters, we'll create a web service say user management with following functionalities:
Sr.
No.
HTTP
Method
URI Operation Operation
Type
1 GET /UserService/users Get list of users Read Only
2 GET /UserService/users/1 Get User of Id 1 Read Only
3 PUT /UserService/users/2 Insert User with Id 2 Idempotent
4 POST /UserService/users/2 Update User with Id 2 N/A
5 DELETE /UserService/users/1 Delete User with Id 1 Idempotent
6 OPTIONS /UserService/users List the supported operations in
web service
Read Only
RESTFUL WEB SERVICES
- ENVIRONMENT SETUP
- ENVIRONMENT SETUP
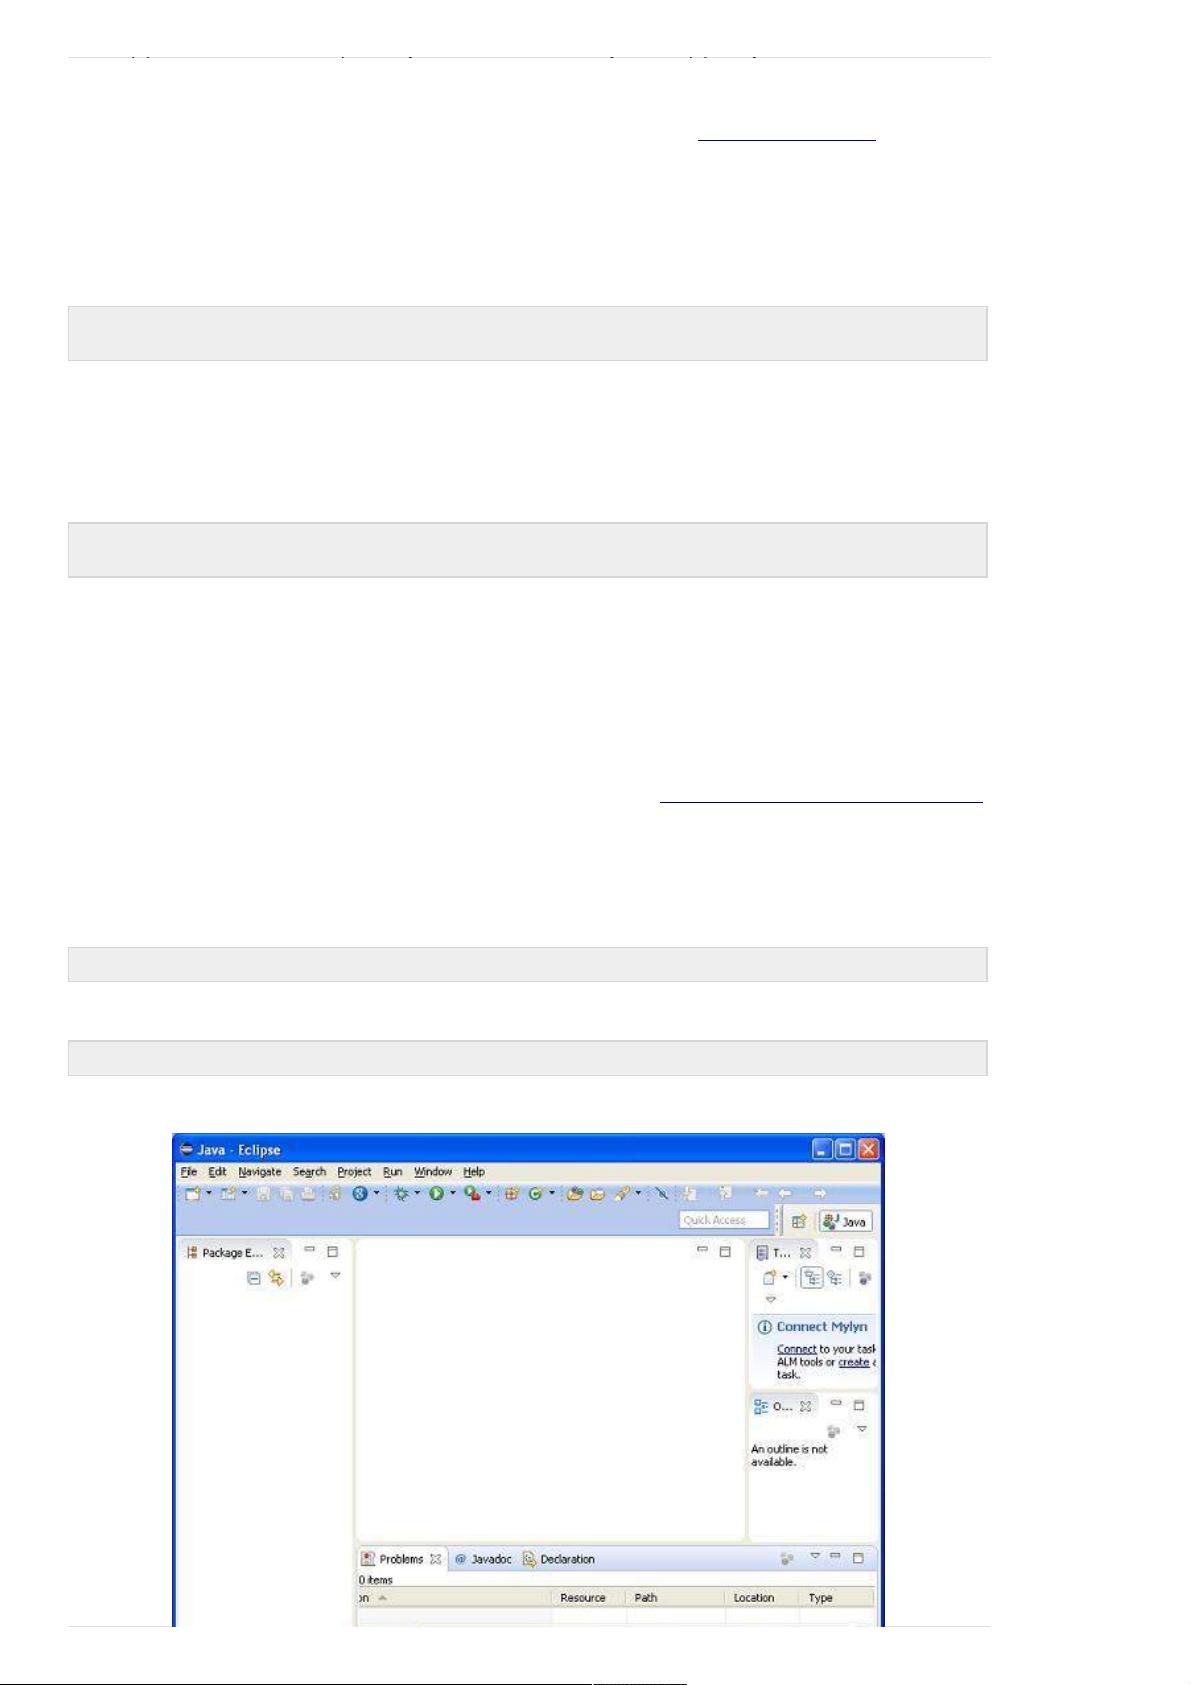
This tutorial will guide you on how to prepare a development environment to start your work with
Jersey Framework to create RESTful Web Services. Jersey framework implements JAX-RS 2.0 API
which is standard specification to create RESTful web services. This tutorial will also teach you how
to setup JDK, Tomcat and Eclipse on your machine before you setup Jersey Framework:
![](https://csdnimg.cn/release/download_crawler_static/9969479/bg2.jpg)
to setup JDK, Tomcat and Eclipse on your machine before you setup Jersey Framework:
Step 1 - Setup Java Development Kit JDK:
You can download the latest version of SDK from Oracle's Java site: Java SE Downloads. You will
find instructions for installing JDK in downloaded files, follow the given instructions to install and
configure the setup. Finally set PATH and JAVA_HOME environment variables to refer to the
directory that contains java and javac, typically java_install_dir/bin and java_install_dir
respectively.
If you are running Windows and installed the JDK in C:\jdk1.7.0_75, you would have to put the
following line in your C:\autoexec.bat file.
set PATH=C:\jdk1.7.0_75\bin;%PATH%
set JAVA_HOME=C:\jdk1.7.0_75
Alternatively, on Windows NT/2000/XP, you could also right-click on My Computer, select
Properties, then Advanced, then Environment Variables. Then, you would update the PATH value
and press the OK button.
On Unix Solaris, Linux, etc. , if the SDK is installed in /usr/local/jdk1.7.0_75 and you use the C shell, you
would put the following into your .cshrc file.
setenv PATH /usr/local/jdk1.7.0_75/bin:$PATH
setenv JAVA_HOME /usr/local/jdk1.7.0_75
Alternatively, if you use an Integrated Development Environment IDE like Borland JBuilder, Eclipse,
IntelliJ IDEA, or Sun ONE Studio, compile and run a simple program to confirm that the IDE knows
where you installed Java, otherwise do proper setup as given document of the IDE.
Step 2 - Setup Eclipse IDE
All the examples in this tutorial have been written using Eclipse IDE. So I would suggest you should
have latest version of Eclipse installed on your machine.
To install Eclipse IDE, download the latest Eclipse binaries from http://www.eclipse.org/downloads/.
Once you downloaded the installation, unpack the binary distribution into a convenient location.
For example in C:\eclipse on windows, or /usr/local/eclipse on Linux/Unix and finally set PATH
variable appropriately.
Eclipse can be started by executing the following commands on windows machine, or you can
simply double click on eclipse.exe
%C:\eclipse\eclipse.exe
Eclipse can be started by executing the following commands on Unix Solaris, Linux, etc. machine:
$/usr/local/eclipse/eclipse
After a successful startup, if everything is fine then it should display following result:
![](https://csdnimg.cn/release/download_crawler_static/9969479/bg3.jpg)
Step 4 - Setup Jersey Framework Libraries
Now if everything is fine, then you can proceed to setup your Jersey framework. Following are the
simple steps to download and install the framework on your machine.
Make a choice whether you want to install Jersey on Windows, or Unix and then proceed to
the next step to download .zip file for windows and .tz file for Unix.
Download the latest version of Jersey framework binaries from
https://jersey.java.net/download.html.
At the time of writing this tutorial, I downloaded jaxrs-ri-2.17.zip on my Windows machine
and when you unzip the downloaded file it will give you directory structure inside E:\jaxrs-ri-
2.17\jaxrs-ri as follows.
You will find all the Jersey libraries in the directories C:\jaxrs-ri-2.17\jaxrs-ri\lib and
dependencies in C:\jaxrs-ri-2.17\jaxrs-ri\ext. Make sure you set your CLASSPATH variable on
this directory properly otherwise you will face problem while running your application. If you are
using Eclipse then it is not required to set CLASSPATH because all the setting will be done through
Eclipse.
Step 5: Setup Apache Tomcat:
You can download the latest version of Tomcat from http://tomcat.apache.org/. Once you
downloaded the installation, unpack the binary distribution into a convenient location. For example
in C:\apache-tomcat-7.0.59 on windows, or /usr/local/apache-tomcat-7.0.59 on Linux/Unix and set
CATALINA_HOME environment variable pointing to the installation locations.
Tomcat can be started by executing the following commands on windows machine, or you can
simply double click on startup.bat
%CATALINA_HOME%\bin\startup.bat
or
C:\apache-tom cat-7.0.59\bin\startup.bat
Tomcat can be started by executing the following commands on Unix Solaris, Linux, etc. machine:
$CATALINA_HOME/bin/startup.sh
or
/usr/local/apache-tomcat-7.0.59/bin/startup.sh
After a successful startup, the default web applications included with Tomcat will be available by
visiting http://localhost:8080/. If everything is fine then it should display following result:
![](https://csdnimg.cn/release/download_crawler_static/9969479/bg4.jpg)
Further information about configuring and running Tomcat can be found in the documentation
included here, as well as on the Tomcat web site: http://tomcat.apache.org
Tomcat can be stopped by executing the following commands on windows machine:
%CATALINA_HOME%\bin\shutdown
or
C:\apache-tomcat-7.0.59\bin\shutdown
Tomcat can be stopped by executing the following commands on Unix Solaris, Linux, etc. machine:
$CATALINA_HOME/bin/shutdown.sh
or
/usr/local/apache-tomcat-7.0.59/bin/shutdown.sh
Once you are done with this last step, you are ready to proceed for your first Jersey Example which
you will see in the next chapter.
RESTFUL WEB SERVICES - FIRST APPLICATION
Let us start writing actual RESTful web services with Jersey Framework. Before you start writing
your first example using Jersey framework, you have to make sure that you have setup your Jersey
environment properly as explained in RESTful Web Services - Environment Setup tutorial. I also
assume that you have a little bit working knowledge with Eclipse IDE.
So let us proceed to write a simple Jersey Application which will expose a web service method to
display list of users.
Step 1 - Create Java Project:
The first step is to create a Dynamic Web Project using Eclipse IDE. Follow the option File -> New
-> Project and finally select Dynamic Web Project wizard from the wizard list. Now name your
project as UserManagement using the wizard window as follows:
剩余19页未读,继续阅读
![-](https://csdnimg.cn/download_wenku/file_type_column_c1.png)
![](https://csdnimg.cn/download_wenku/file_type_ask_c1.png)
![](https://profile-avatar.csdnimg.cn/e90b803b3b8949a9835a13093740f240_qq_18367375.jpg!1)
syongnuaa
- 粉丝: 0
- 资源: 22
上传资源 快速赚钱
我的内容管理 收起
我的资源 快来上传第一个资源
我的收益
登录查看自己的收益我的积分 登录查看自己的积分
我的C币 登录后查看C币余额
我的收藏
我的下载
下载帮助
![](https://csdnimg.cn/release/wenkucmsfe/public/img/voice.245cc511.png)
会员权益专享
最新资源
- 基于嵌入式ARMLinux的播放器的设计与实现 word格式.doc
- 经典:大学答辩通过_基于ARM微处理器的嵌入式指纹识别系统设计.pdf
- 嵌入式系统课程设计.doc
- 基于飞思卡尔控制器的智能寻迹车设计ARM基础课程课程设计.doc
- 下载基于ARM7的压电陶瓷换能器导纳圆测量仪的研制PDF格式可编辑.pdf
- 课程设计基于ARM的嵌入式家居监控系统的研究与设计.doc
- 论文基于嵌入式ARM的图像采集处理系统设计.doc
- 嵌入式基于ARM9的中断驱动程序设计—课程设计.doc
- 在Linux系统下基于ARM嵌入式的俄罗斯方块.doc
- STK-MirrorStore Product Release Notes(96130)-44
- STK-MirrorStore Storage Connectivity Guide for StorageTek Disk A
- 龙虾养殖远程监控系统的设计与实现数据采集上位-机软件模块-本科毕业设计.doc
- 龙虾养殖远程监控系统的设计与实现数据采集上位-机软件模块-.doc
- 龙虾养殖远程监控系统的设计与实现数据采集上位-机软件模块-本科生毕业论文.doc
- 麻阳风貌展示网站的设计与实现毕业论文.pdf
- 高速走丝气中电火花线切割精加工编程设计.doc
资源上传下载、课程学习等过程中有任何疑问或建议,欢迎提出宝贵意见哦~我们会及时处理!
点击此处反馈
![](https://img-home.csdnimg.cn/images/20220527035711.png)
![](https://img-home.csdnimg.cn/images/20220527035111.png)
安全验证
文档复制为VIP权益,开通VIP直接复制
![](https://csdnimg.cn/release/wenkucmsfe/public/img/green-success.6a4acb44.png)