单张照片到3D模型:技术解析与应用实例
需积分: 5 45 浏览量
更新于2024-07-19
2
收藏 3.03MB PDF 举报
在现代计算机视觉领域,将一张2D照片转换为3D模型已经成为一个热门的研究课题。理论上,虽然单张照片中的信息有限,但通过人工智能技术,特别是深度学习和模式识别,科学家们已经开发出了方法来部分地实现这个过程。这种技术主要集中在特定对象上,如人脸,利用深度学习算法来分析和重构。
例如,人脸识别领域的研究,如Chai等人在2015年的论文中,"High-quality hair modeling from a single portrait photo",展示了如何从一张单人肖像照片中提取出高度逼真的头发模型。他们的方法基于先前对人脸结构的理解,通过参数化模型的调整来适应图像特征,尽管难以复原细节如鼻子的精确高度,但对于头发等纹理细节的还原却达到了惊人的效果。
对于更广泛的对象,早期的工作如Blanz和Vetter在1999年的"Amorphable model for the synthesis of 3D faces",提出了使用可变参数模型来生成3D人脸的方法,这种方法依赖于与目标物体相似的三维模型作为先验知识。这意味着对于不同的对象,尤其是复杂形状,重建的准确度会受到先验模型质量的影响。
还有一些技术专注于无先验知识的情况,如Li等人在2016年的"Shape Completion from a Single RGBD Image",这些方法通常处理的是点云数据,而非完整的3D模型。它们通过RGB-D(即包含颜色和深度信息)图像,例如来自手机摄像头的视频,尝试恢复物体的形状,但可能会因单目相机的局限性(如无法捕捉完整3D信息和遮挡)而存在较多缺失。
尽管技术在进步,将2D照片完全转化为精确的3D模型仍然是一个挑战,特别是在没有大量先验信息的情况下。未来的研究可能会进一步优化算法,提高重建的精度和鲁棒性,使得这项技术在更多场景下变得实用,如游戏开发、虚拟现实和增强现实等领域。
因为照片里的光线信息已经被“烘焙”进去了,如之前所述,大脑通过分析光
源阴影判断出深度。
就像长者一样见多识广,什么大风大浪没见过。
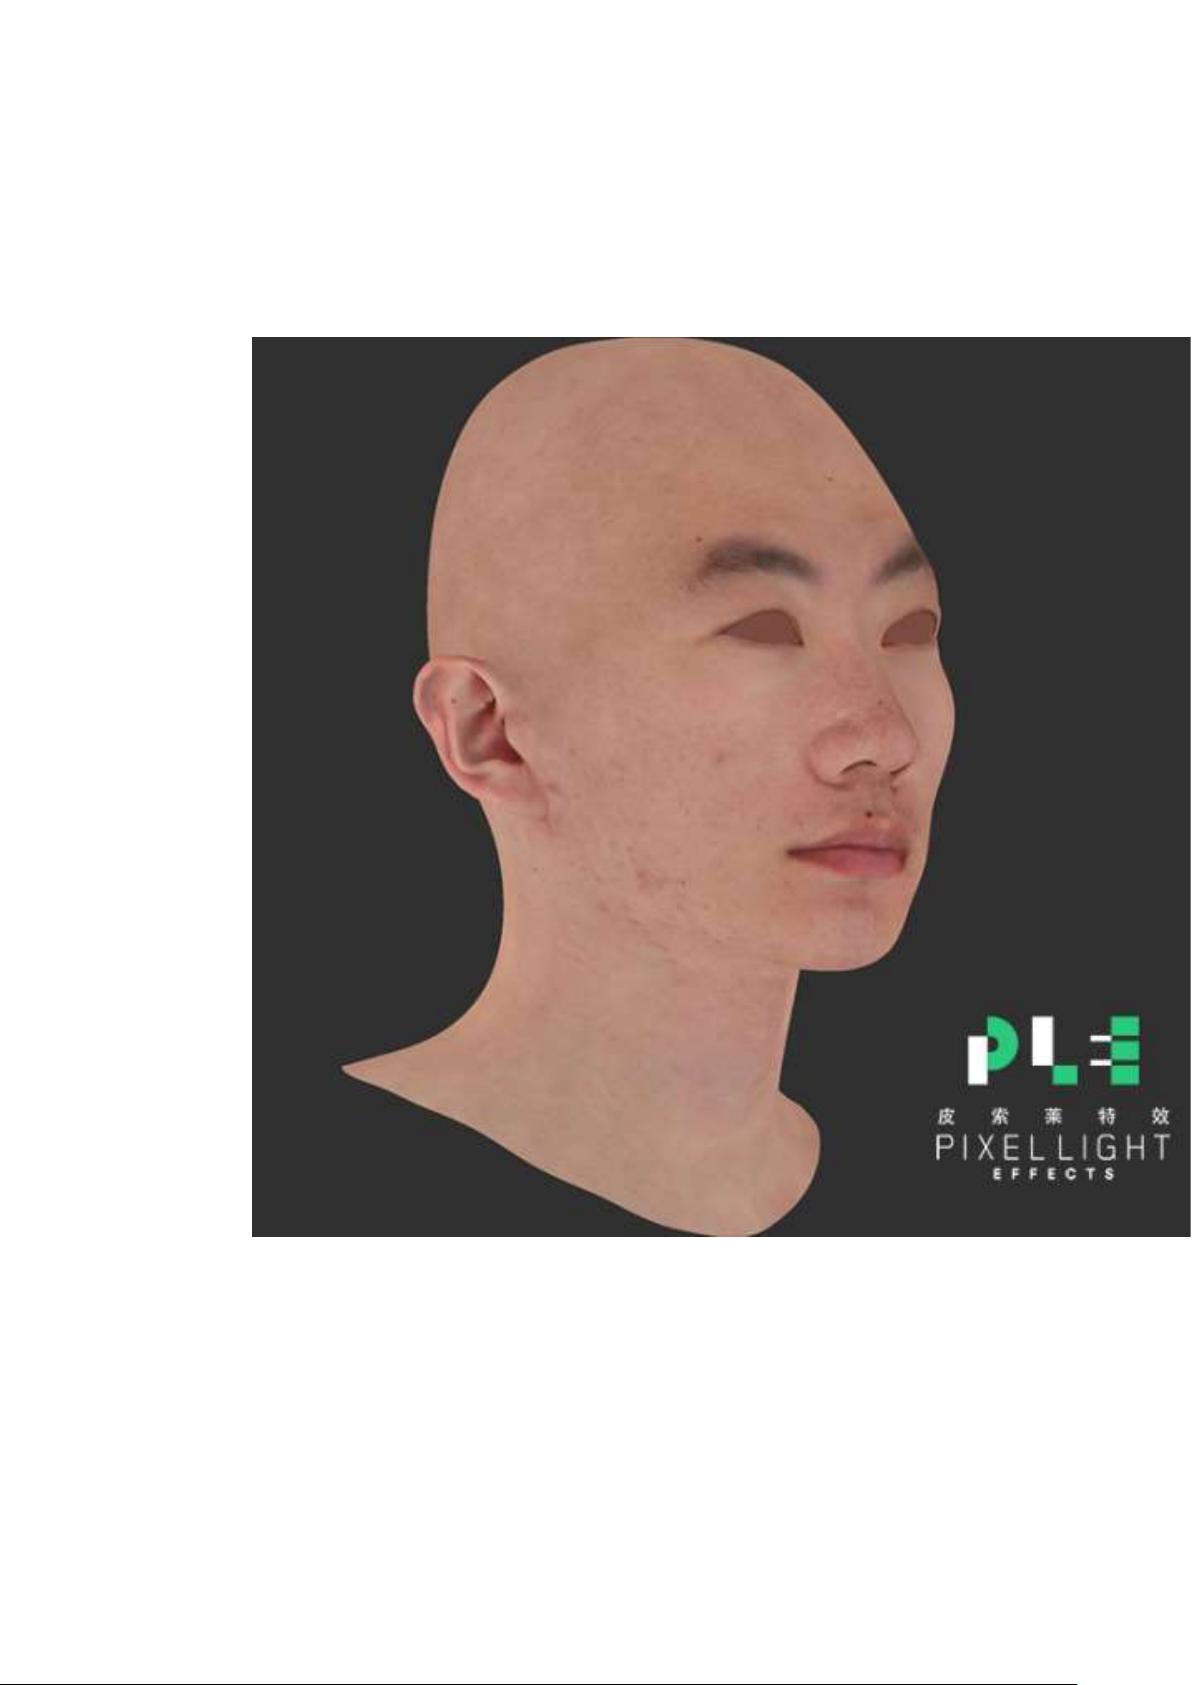
在一个完美的均匀光源下,四只眼也看不出深度。举个栗子,下面是我们
矩阵三维扫描出来的。
如果吓到你了我很抱歉,我想拿这张图吓人已经很久了。
你看脸颊部分显得很平,可以明显看出深度的仅限鼻翼和耳朵附近,这部
分把光打匀几乎不可能。
做 CG 特效需要这种漫反射贴图,光影是渲染器分析几何图形结合贴图合
成一起才看出立体效果。
---------------------------------
不过人眼人脑是个很好玩的东西,我有个朋友有种怪病,啥都能看得出
剩余29页未读,继续阅读
2020-06-08 上传
2023-06-05 上传
2023-05-20 上传
2024-01-16 上传
2023-03-11 上传
2023-09-12 上传
2023-03-29 上传
2023-06-05 上传

Eloudy
- 粉丝: 1205
- 资源: 40
 我的内容管理
展开
我的内容管理
展开


最新资源
- 多模态联合稀疏表示在视频目标跟踪中的应用
- Kubernetes资源管控与Gardener开源软件实践解析
- MPI集群监控与负载平衡策略
- 自动化PHP安全漏洞检测:静态代码分析与数据流方法
- 青苔数据CEO程永:技术生态与阿里云开放创新
- 制造业转型: HyperX引领企业上云策略
- 赵维五分享:航空工业电子采购上云实战与运维策略
- 单片机控制的LED点阵显示屏设计及其实现
- 驻云科技李俊涛:AI驱动的云上服务新趋势与挑战
- 6LoWPAN物联网边界路由器:设计与实现
- 猩便利工程师仲小玉:Terraform云资源管理最佳实践与团队协作
- 类差分度改进的互信息特征选择提升文本分类性能
- VERITAS与阿里云合作的混合云转型与数据保护方案
- 云制造中的生产线仿真模型设计与虚拟化研究
- 汪洋在PostgresChina2018分享:高可用 PostgreSQL 工具与架构设计
- 2018 PostgresChina大会:阿里云时空引擎Ganos在PostgreSQL中的创新应用与多模型存储
