没有合适的资源?快使用搜索试试~ 我知道了~
首页C#初学者进阶:第4部分,构建UWP应用与用户界面设计
C#初学者进阶:第4部分,构建UWP应用与用户界面设计
5星 · 超过95%的资源 需积分: 9 1 下载量 31 浏览量
更新于2024-07-19
收藏 7.68MB PDF 举报
"《Begin to Code with C# 第四部分:英文原版》由Rob Miles编著,是微软出版的一本面向初学者的C#编程教程。在这一部分,作者带你进入开发者角色的全新阶段,通过实际操作让你掌握编写可以销售的应用程序。课程不再局限于Snaps框架,它最初隐藏了Windows 10程序开发的一些复杂性,但并非完全抛弃,而是逐步引入更深入的理解。 在第4章,你将开始脱离Snaps框架,学习设计用户界面,这是应用程序与用户交互的核心。用户界面就像商店的橱窗,吸引人且易用的设计能够激发用户使用软件的积极性。本章的教学内容包括如何利用对象构建直观、吸引人的界面,让读者理解用户界面设计的重要性,并掌握设计原则和最佳实践。 接下来,你将学习现代程序如何处理外部事件,这涉及到编程中的事件驱动模型。理解并能处理这些事件对于编写响应用户行为、适应外部环境变化的软件至关重要。这部分的学习不仅限于理论,还包括实际编码示例,让你在实践中提升技能。 通过本章的学习,你将具备创建能够吸引更多用户的软件的能力,同时也能更好地理解和利用C#语言在Windows 10平台上的各种特性。记住,尽管本书中的示例与商业软件之间存在细微差别,但核心编程原理和实践经验是一致的,为你的编程生涯打下坚实的基础。随着技术的深入,你将能够开发出真正具有商业价值的应用,实现从初学者到专业开发者的飞跃。"
资源详情
资源推荐
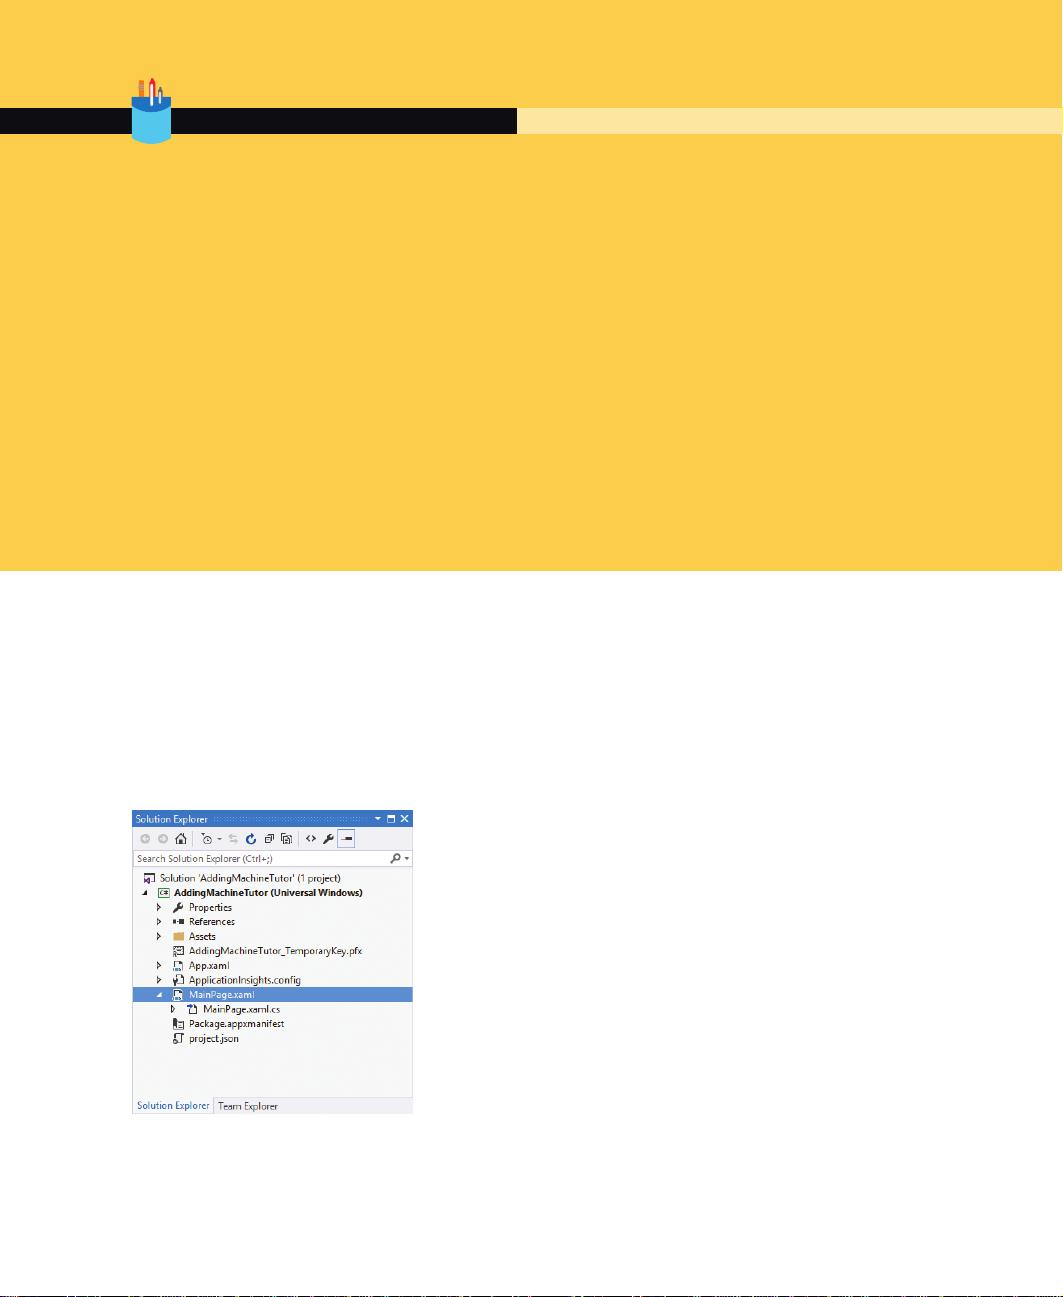
Figure 16-6 Closing a window.
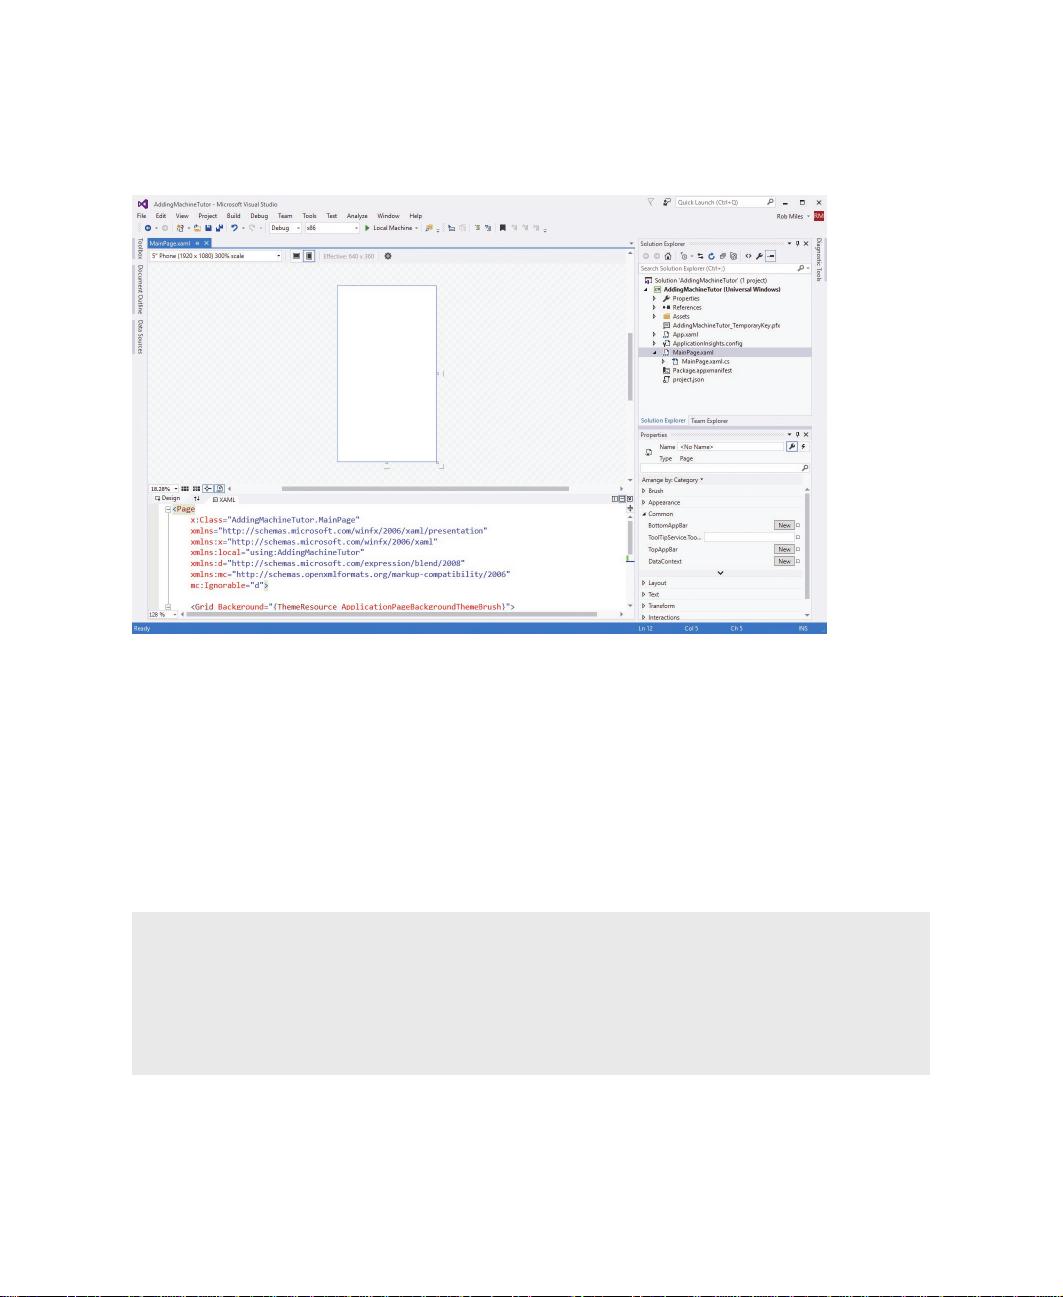
We can run our empty application in the same way as we have been running Snaps
applications. Click the run button (the green arrow) on the top row of controls (being
sure that the text next to it shows Local Machine). When you click the run button,
the program is compiled, loaded into memory, and then allowed to run. Figure 16-7
shows the result.
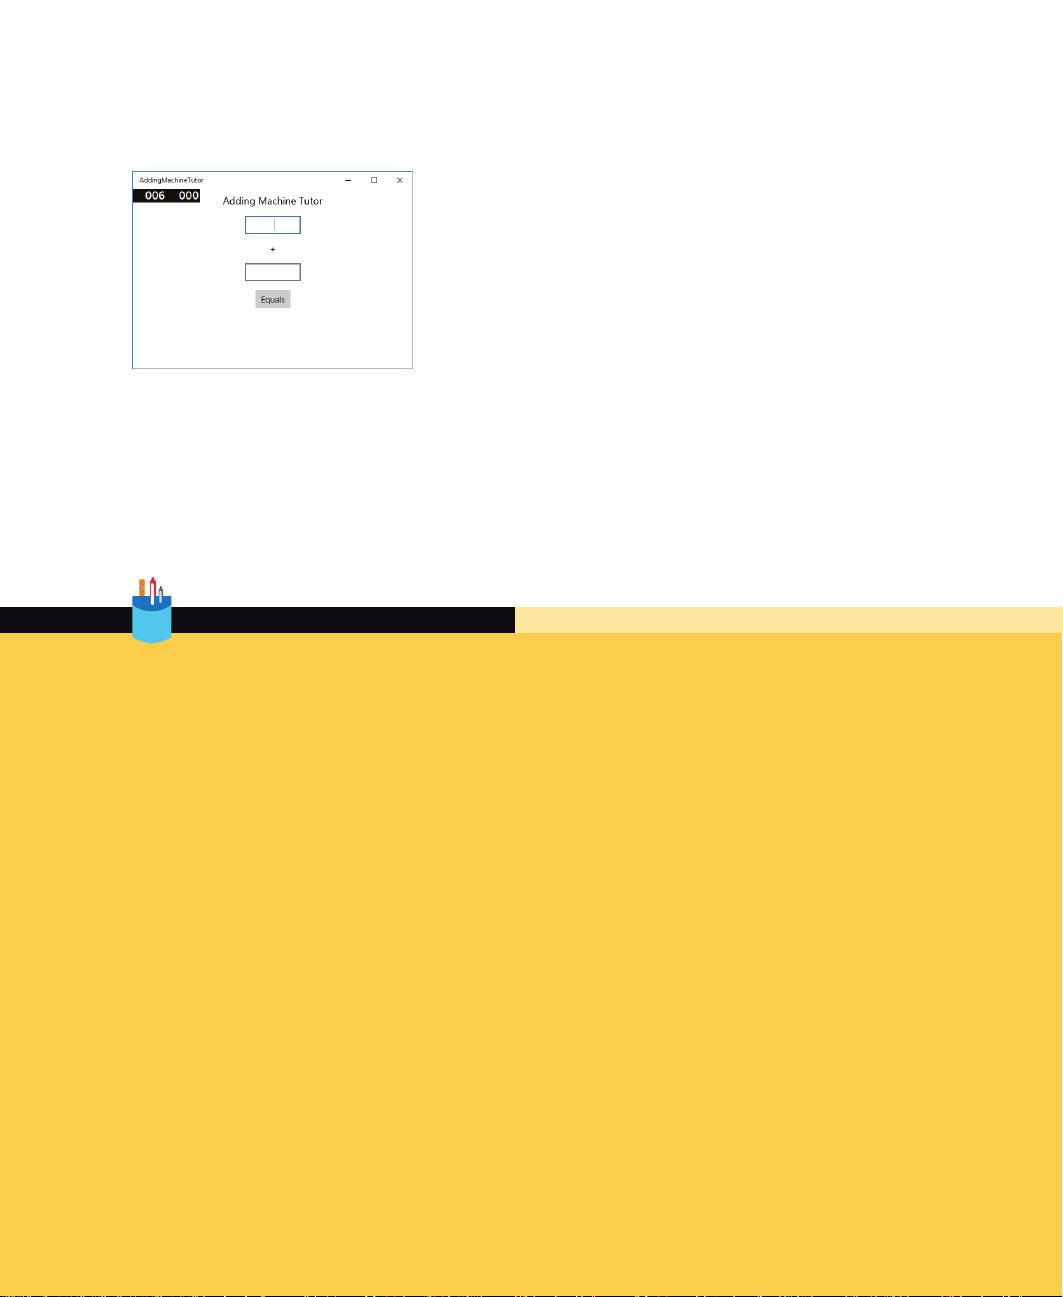
Figure 16-7 Running an empty program.
The empty program looks pretty much as you would expect, although you might
be curious about the two numbers in the top-left corner of the application window.
These are performance counters that tell you the demands your application is placing
on the host computer and the rate that the display is being updated. They are not
particularly important just at the moment, so you can ignore them for now.
Bearing in mind that all we have done is make an empty program, we do have a lot of
functionality. We can drag the window around the screen, change its size, maximize
and minimize it, and close the application down. We could even submit the solution
to be sold on the Windows Store, although it is unlikely it would be approved for sale
because it currently doesn’t do anything.
488 Chapter 16 Creating a user interface using objects
Stopping a Windows application
Question: How do we stop a Windows application?
Answer: In the programs that we have written up until now, the StartProgram method
from Snaps has been called at the start of the program, and when this method finishes,
the program ends. A Windows 10 application doesn’t work like this, however. The pro-
gram will “run” until the user closes it or the computer is switched off.
Of course, a Windows 10 application is not really running in the same sense as our earlier
programs, in that most of the time it is asleep until the user actually does something. Our
Adding Machine Tutor program will spend most of its time waiting for the user to type in
some numbers or press the button to trigger the calculation behavior.
If you need a program to get control when the user closes the program—perhaps to save
some data—you can connect a method to the event that occurs when the user closes the
program.
Creating the user interface using XAML
The next step is to add some elements to the user interface. We’ll do this by adding
some content to the XAML file that describes the page. The XAML that describes the
main page of the application is held in a file named MainPage.xaml. First, you need
to stop the application if it still running. Then open MainPage.xaml by double-
clicking it in Solution Explorer, as shown in Figure 16-8.
Figure 16-8 Opening the MainPage.xaml file.
CODE ANALYSIS
489
Creating a new application
Opening the file displays it in an editing view that lets you see the XAML that defines
the design along with a preview of how the page will look, as you can see in Figure
16-9.
Figure 16-9 Editing XAML in Visual Studio.
The editing area is split into two regions. At the top you have a preview of the inter-
face as the user will see it. At the bottom you have the XAML that describes the ele-
ments on the page. We are going to start by editing the XAML file.
At the very bottom of the XAML file is the Grid element that contains the elements
that appear on the screen. You can see the top row of the Grid description at the
bottom of Figure 16-9. We can add an element to the screen by adding XAML to the
Grid:
<Grid Background="{ThemeResource ApplicationPageBackgroundThemeBrush}">
<StackPanel>
<TextBox Name="firstNumberTextBox" Width="100" Margin="8"
TextAlignment="Center"></TextBox>
</StackPanel>
</Grid>
This is the definition of the first TextBox on the display. If we run the application again,
the TextBox is displayed at the top of the application, as shown in Figure 16-10.
490 Chapter 16 Creating a user interface using objects
Figure 16-10 A single TextBox on the screen.
You can enter text into the TextBox. The text you enter is centered inside the TextBox
because the TextAlignment property for the TextBox has been set to Center. Now go
ahead and add the other elements to the display at this point.
<StackPanel>
<TextBlock Text="Adding Machine" TextAlignment="Center" Margin="8"
FontSize="16"></TextBlock>
<TextBox Name="firstNumberTextBox" Width="100" Margin="8"
TextAlignment="Center"></TextBox>
<TextBlock Text="+" TextAlignment="Center" Margin="8"></TextBlock>
<TextBox Name="secondNumberTextBox" Width="100" Margin="8"
TextAlignment="Center"></TextBox>
<Button Content="Equals" Name="equalsButton" HorizontalAlignment="Center"
Margin="8"></Button>
<TextBlock Name="resultTextBlock" Text="" TextAlignment="Center" Margin="8">
</TextBlock>
</StackPanel>
These XAML statements define the elements that make up the adding machine tutor
display. This XAML looks a bit like a program, but it is actually quite different. It is a
declaration of all the display elements that the program will be using. Visual Studio
will work through this file and create the display elements when the program is com-
piled. If you enter this text into MainPage.xaml, you can see the elements appear in
491
Creating a new application
the preview window above the text. If you run the program, you will see the elements
displayed on the screen as you have specified, which you can see in Figure 16-11.
Figure 16-11 Adding machine tutor.
If you change the size of the program window by dragging a corner of it on the
screen, you’ll notice that the elements always stay in the center. Windows will auto-
matically update the layout if the size of the enclosing window changes. The nice thing
about this kind of design is that it will display correctly on any device, from an 84-inch
Surface Hub screen to a much smaller Windows Phone.
Positioning elements on a XAML display
I’ve been advising you to use storyboards to set out what a program should look like, and
XAML provides a great way to take storyboard designs and build them into the application.
However, when you are planning your designs, you need to have an understanding of how
dimensions are specified within XAML.
Question: How do we measure things within a XAML design?
Answer: Simple question, complicated answer. In the old days, it was easy to express
dimensions on displays. We just measured everything in pixels. (Pixel is an abbreviation of
“picture element” and is a single addressable dot on a display.) A dimension of 100 meant
100 actual dots on the screen. This approach worked well because screens were low reso-
lution and there weren’t many different sizes in use. In addition, a program would only be
expected to work on one platform.
Nowadays, there are many different sizes of display, from tiny tablets to enormous wall-
mounted screens. And just to make things worse, the displays themselves vary greatly in
the number of pixels they contain. Some devices have LCD panels with hundreds of pixels
per inch; others make do with a much lower resolution. Sizing everything in pixels no
longer works.
CODE ANALYSIS
492 Chapter 16 Creating a user interface using objects
剩余100页未读,继续阅读
hp1210
- 粉丝: 0
- 资源: 6
上传资源 快速赚钱
- 我的内容管理 展开
- 我的资源 快来上传第一个资源
- 我的收益 登录查看自己的收益
- 我的积分 登录查看自己的积分
- 我的C币 登录后查看C币余额
- 我的收藏
- 我的下载
- 下载帮助
最新资源
- 多模态联合稀疏表示在视频目标跟踪中的应用
- Kubernetes资源管控与Gardener开源软件实践解析
- MPI集群监控与负载平衡策略
- 自动化PHP安全漏洞检测:静态代码分析与数据流方法
- 青苔数据CEO程永:技术生态与阿里云开放创新
- 制造业转型: HyperX引领企业上云策略
- 赵维五分享:航空工业电子采购上云实战与运维策略
- 单片机控制的LED点阵显示屏设计及其实现
- 驻云科技李俊涛:AI驱动的云上服务新趋势与挑战
- 6LoWPAN物联网边界路由器:设计与实现
- 猩便利工程师仲小玉:Terraform云资源管理最佳实践与团队协作
- 类差分度改进的互信息特征选择提升文本分类性能
- VERITAS与阿里云合作的混合云转型与数据保护方案
- 云制造中的生产线仿真模型设计与虚拟化研究
- 汪洋在PostgresChina2018分享:高可用 PostgreSQL 工具与架构设计
- 2018 PostgresChina大会:阿里云时空引擎Ganos在PostgreSQL中的创新应用与多模型存储
资源上传下载、课程学习等过程中有任何疑问或建议,欢迎提出宝贵意见哦~我们会及时处理!
点击此处反馈
安全验证
文档复制为VIP权益,开通VIP直接复制
信息提交成功